And the wires are 3ft plenty of stretch room for a chest with an on/off switch! Some use triple A or double A
Thanks! I'm looking into that!
And the wires are 3ft plenty of stretch room for a chest with an on/off switch! Some use triple A or double A
I also have questions for anyone willing to answer:
1. What's the best cost-effective option for lighting in armor? I don't have any electrical experience. In the past, I've just used small flashlights or twist-on lights that I've duct taped to the inside of my armor for a 1-con use. This time, I want something more permanent, but I don't know what to buy. I've done a search on the forums for "lights" and "LEDs," but it wasn't very helpful. It'd be great if I could have all wires in the chest piece lead to one switch so that I don't have to turn each light on individually.
2. I want to install lights in all or most of the places they're supposed to go, but I'm having a hard time finding a good reference photo for the back of the chest piece. I was wondering if anyone had one.
3. How does everyone solve the problem of people seeing your face through your visor, especially when flash photography is involved? With my Grif suit, I installed the darkest shade of automobile window tint to the inside of the visor. It definitely fixed the problem, but my visibility took a huge hit. I'm fine in a well-lit convention hall, but if I enter a dark room or go outside when the sun is going down, I can barely see anything. It's like wearing exceptionally dark sunglasses. I was wondering if anyone had a better solution.


1. I'm a fan of not burning through batteries but I also have computer engineering and a buttload of circuit design practice so I might be a bad person to ask. My suit runs off a single 5V USB source in the form of power banks that get swapped out every ~4 hours of wear. I get big grab bags of bare LEDs and resistors so it works out to around $30 in electronics components and it's more customizable than the battery pack powered LEDs.
2. References are a bit of an interesting thing, I just went straight into the game and capped some cutscenes. Then I went into Inkscape and annotated my patterns to show where I added in lights.
View attachment 259263 View attachment 259264 View attachment 259265 View attachment 259266 View attachment 259267
3.Visibility is a fun issue on less common shaped visors. I'm on Mk. 5 of my visor right now so let's see how this mirror chrome version works out.
Nice work dude, it's getting thereUpdate!
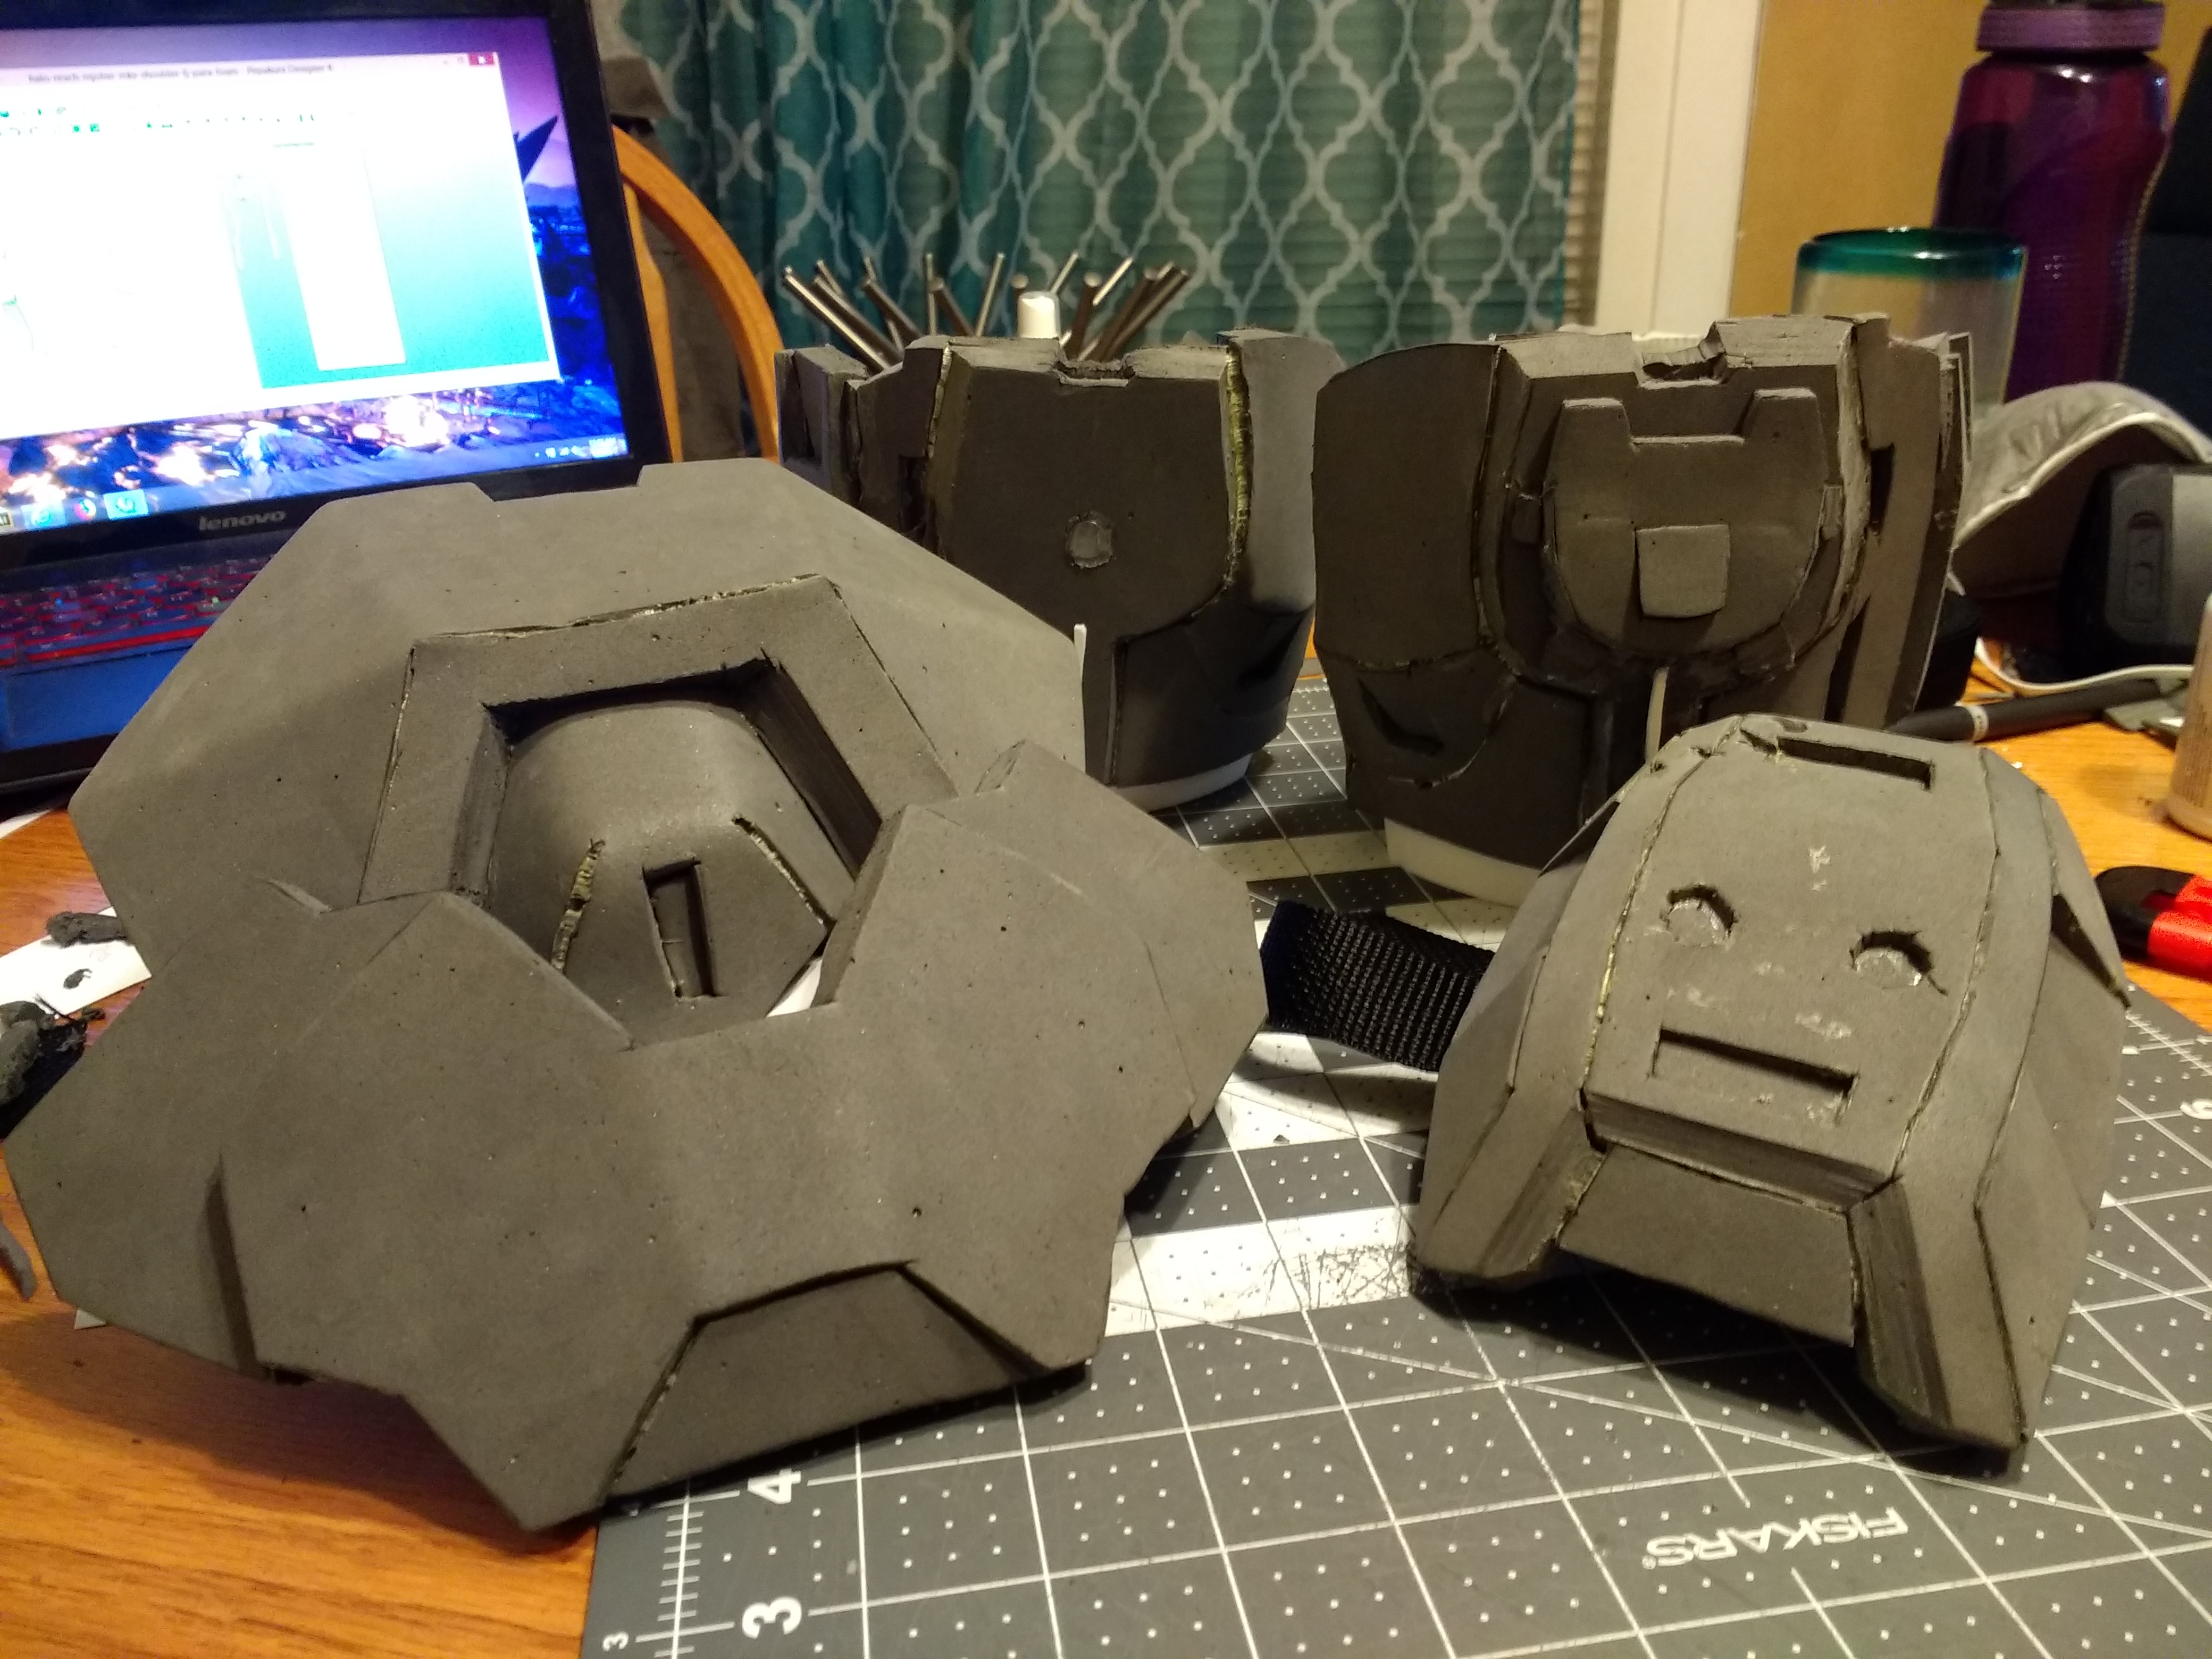
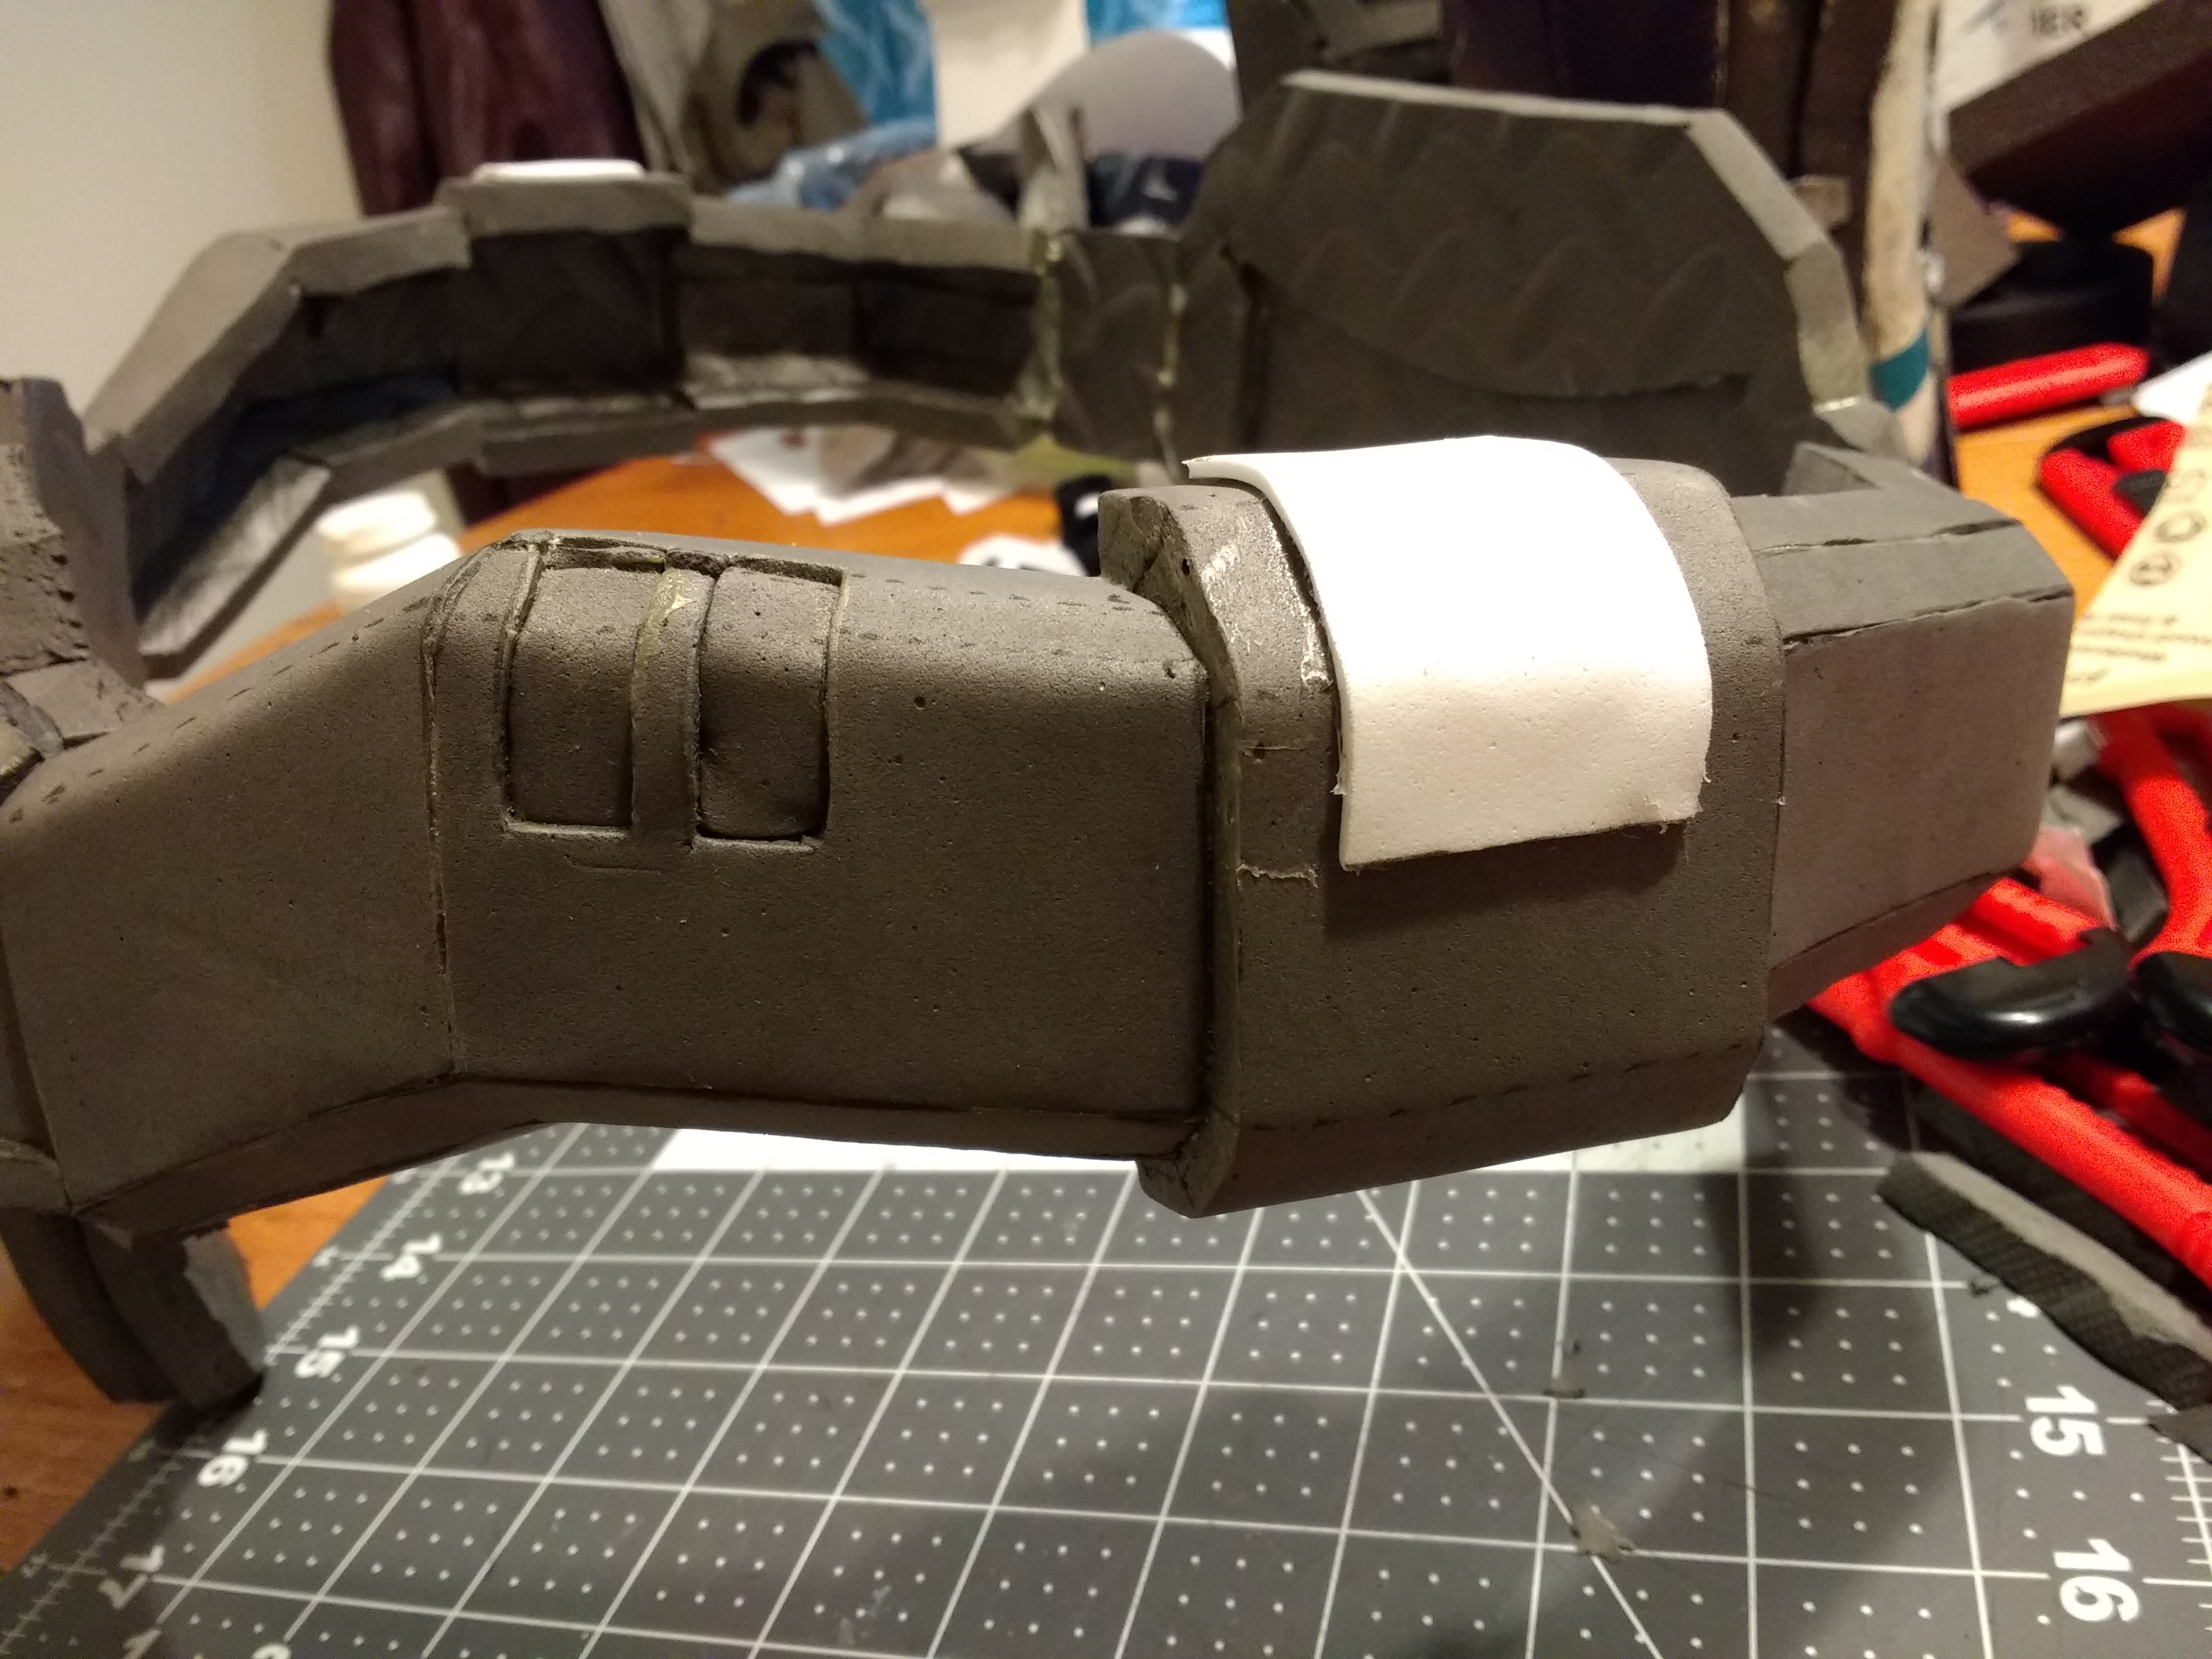
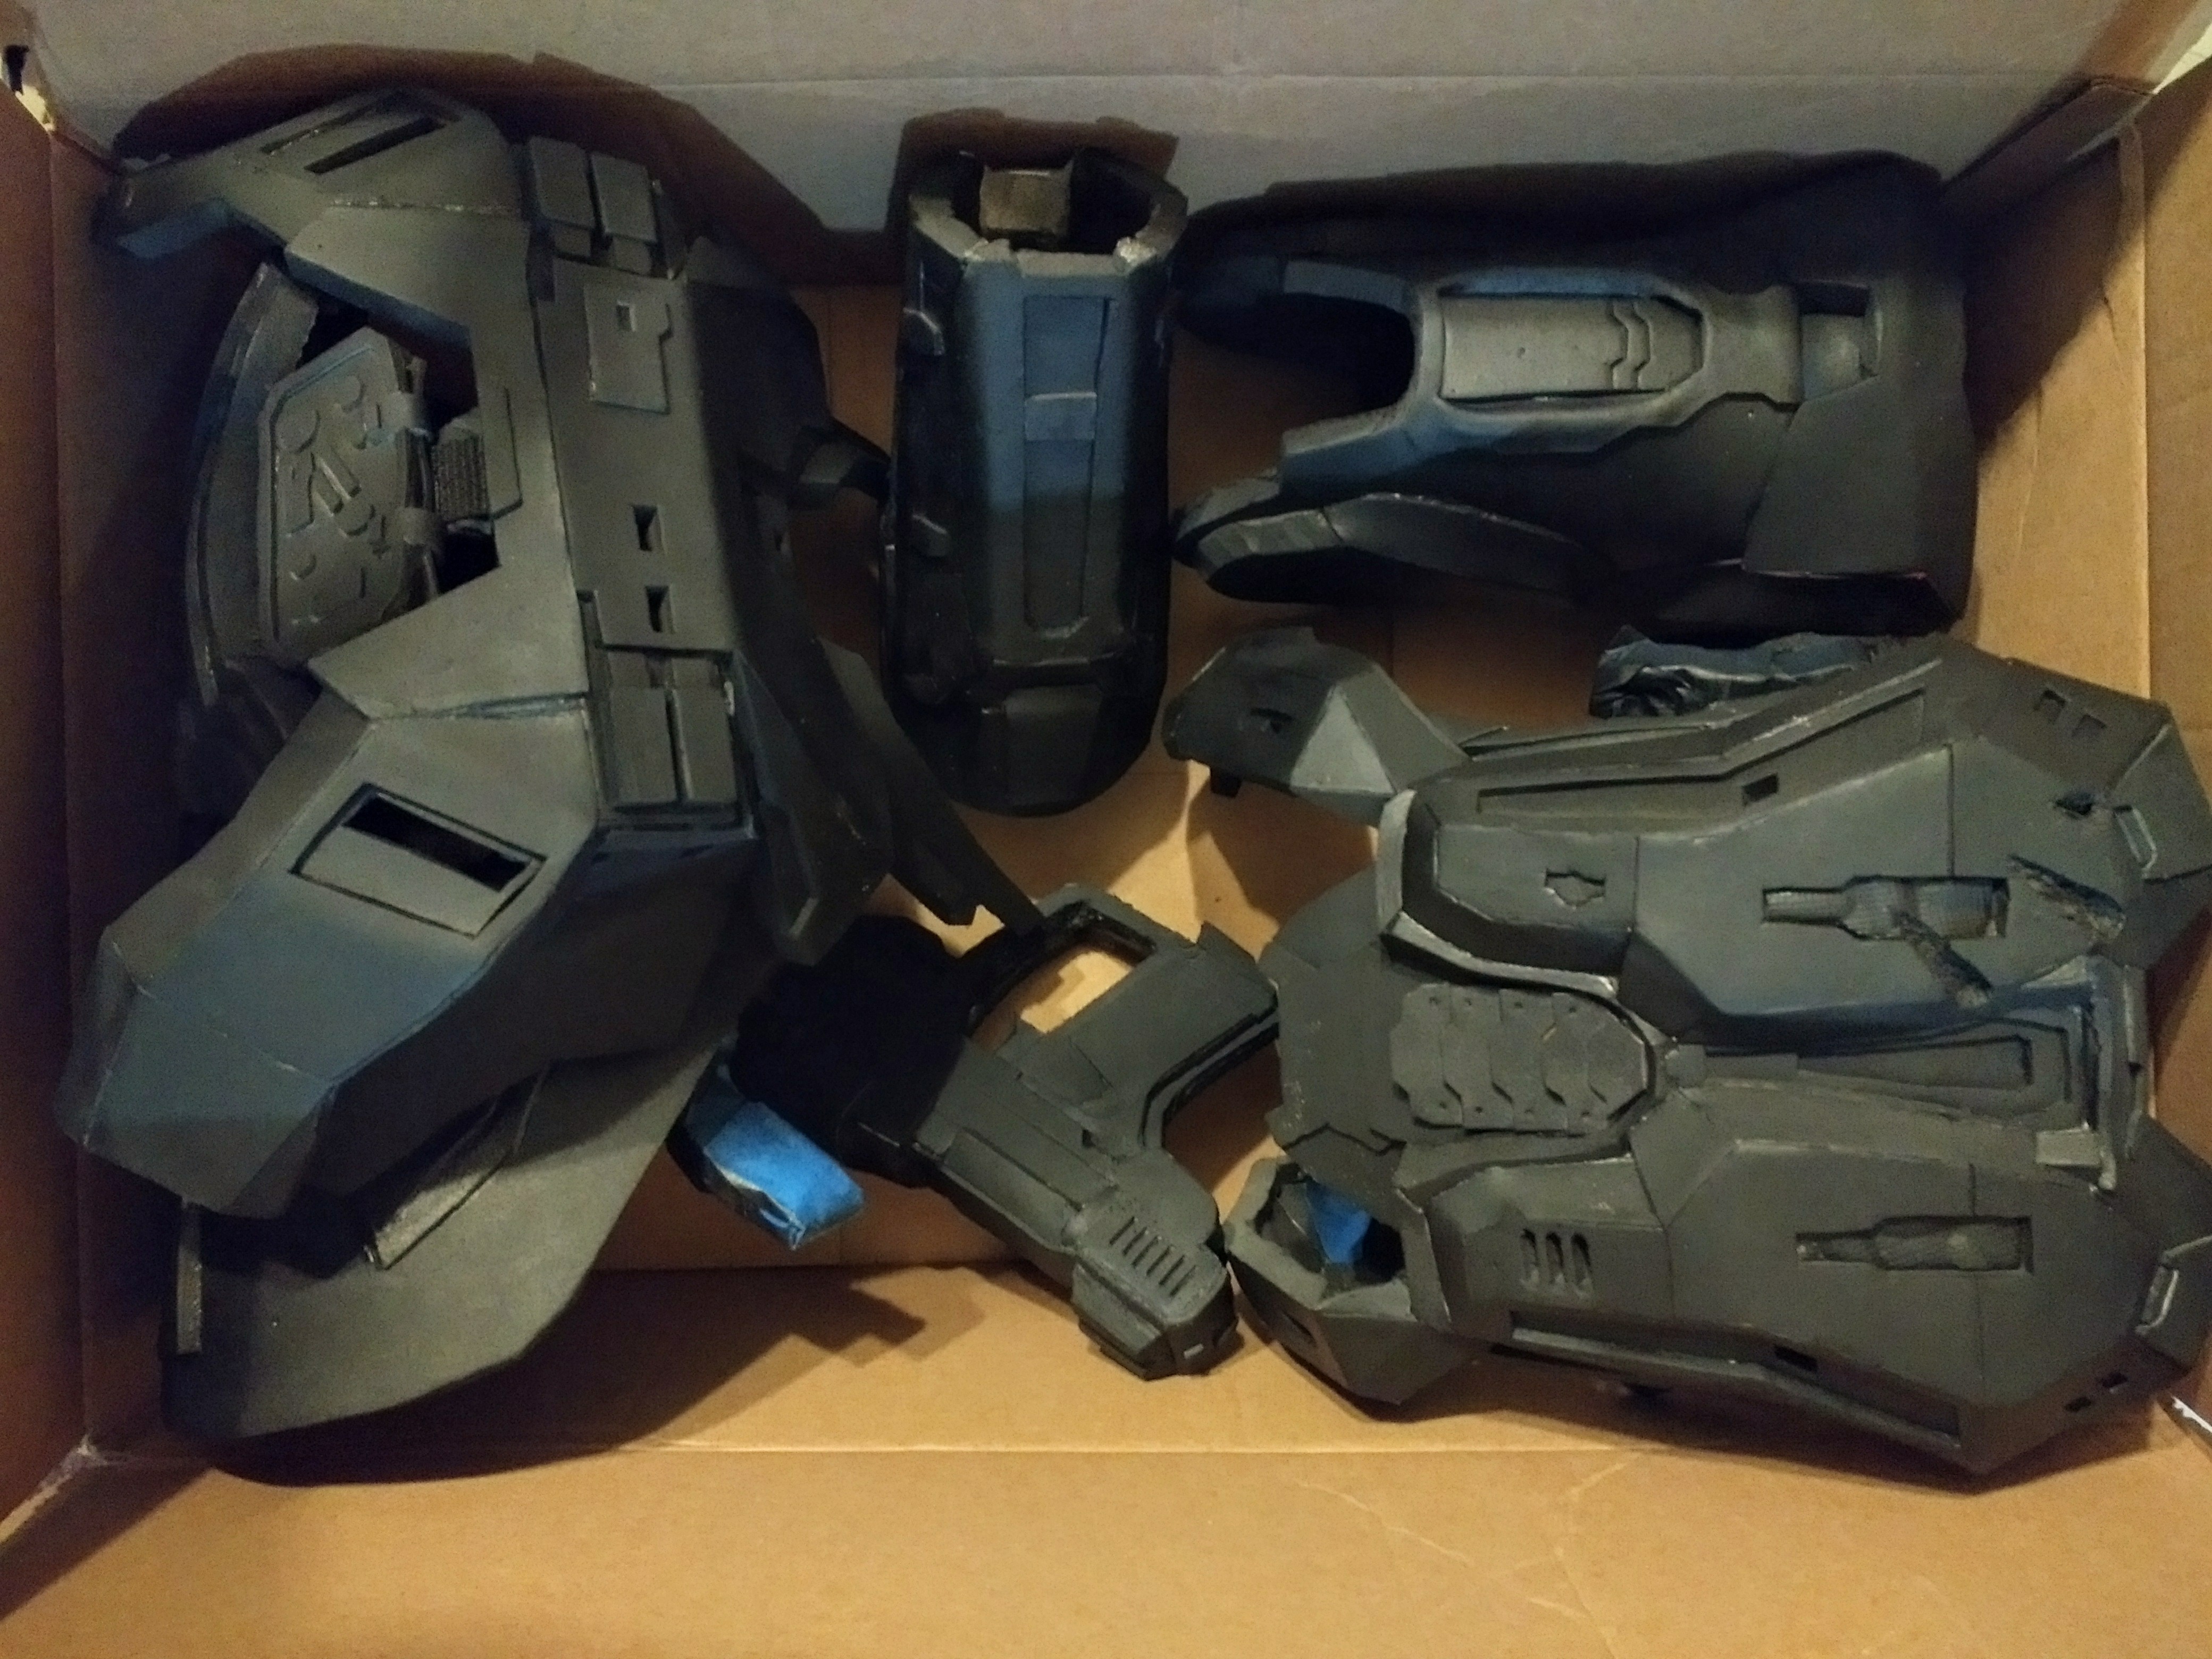
I got sick with a bad cold last weekend, which slowed my progress, but I'm better now! And I've built both biceps and shoulder attachments.
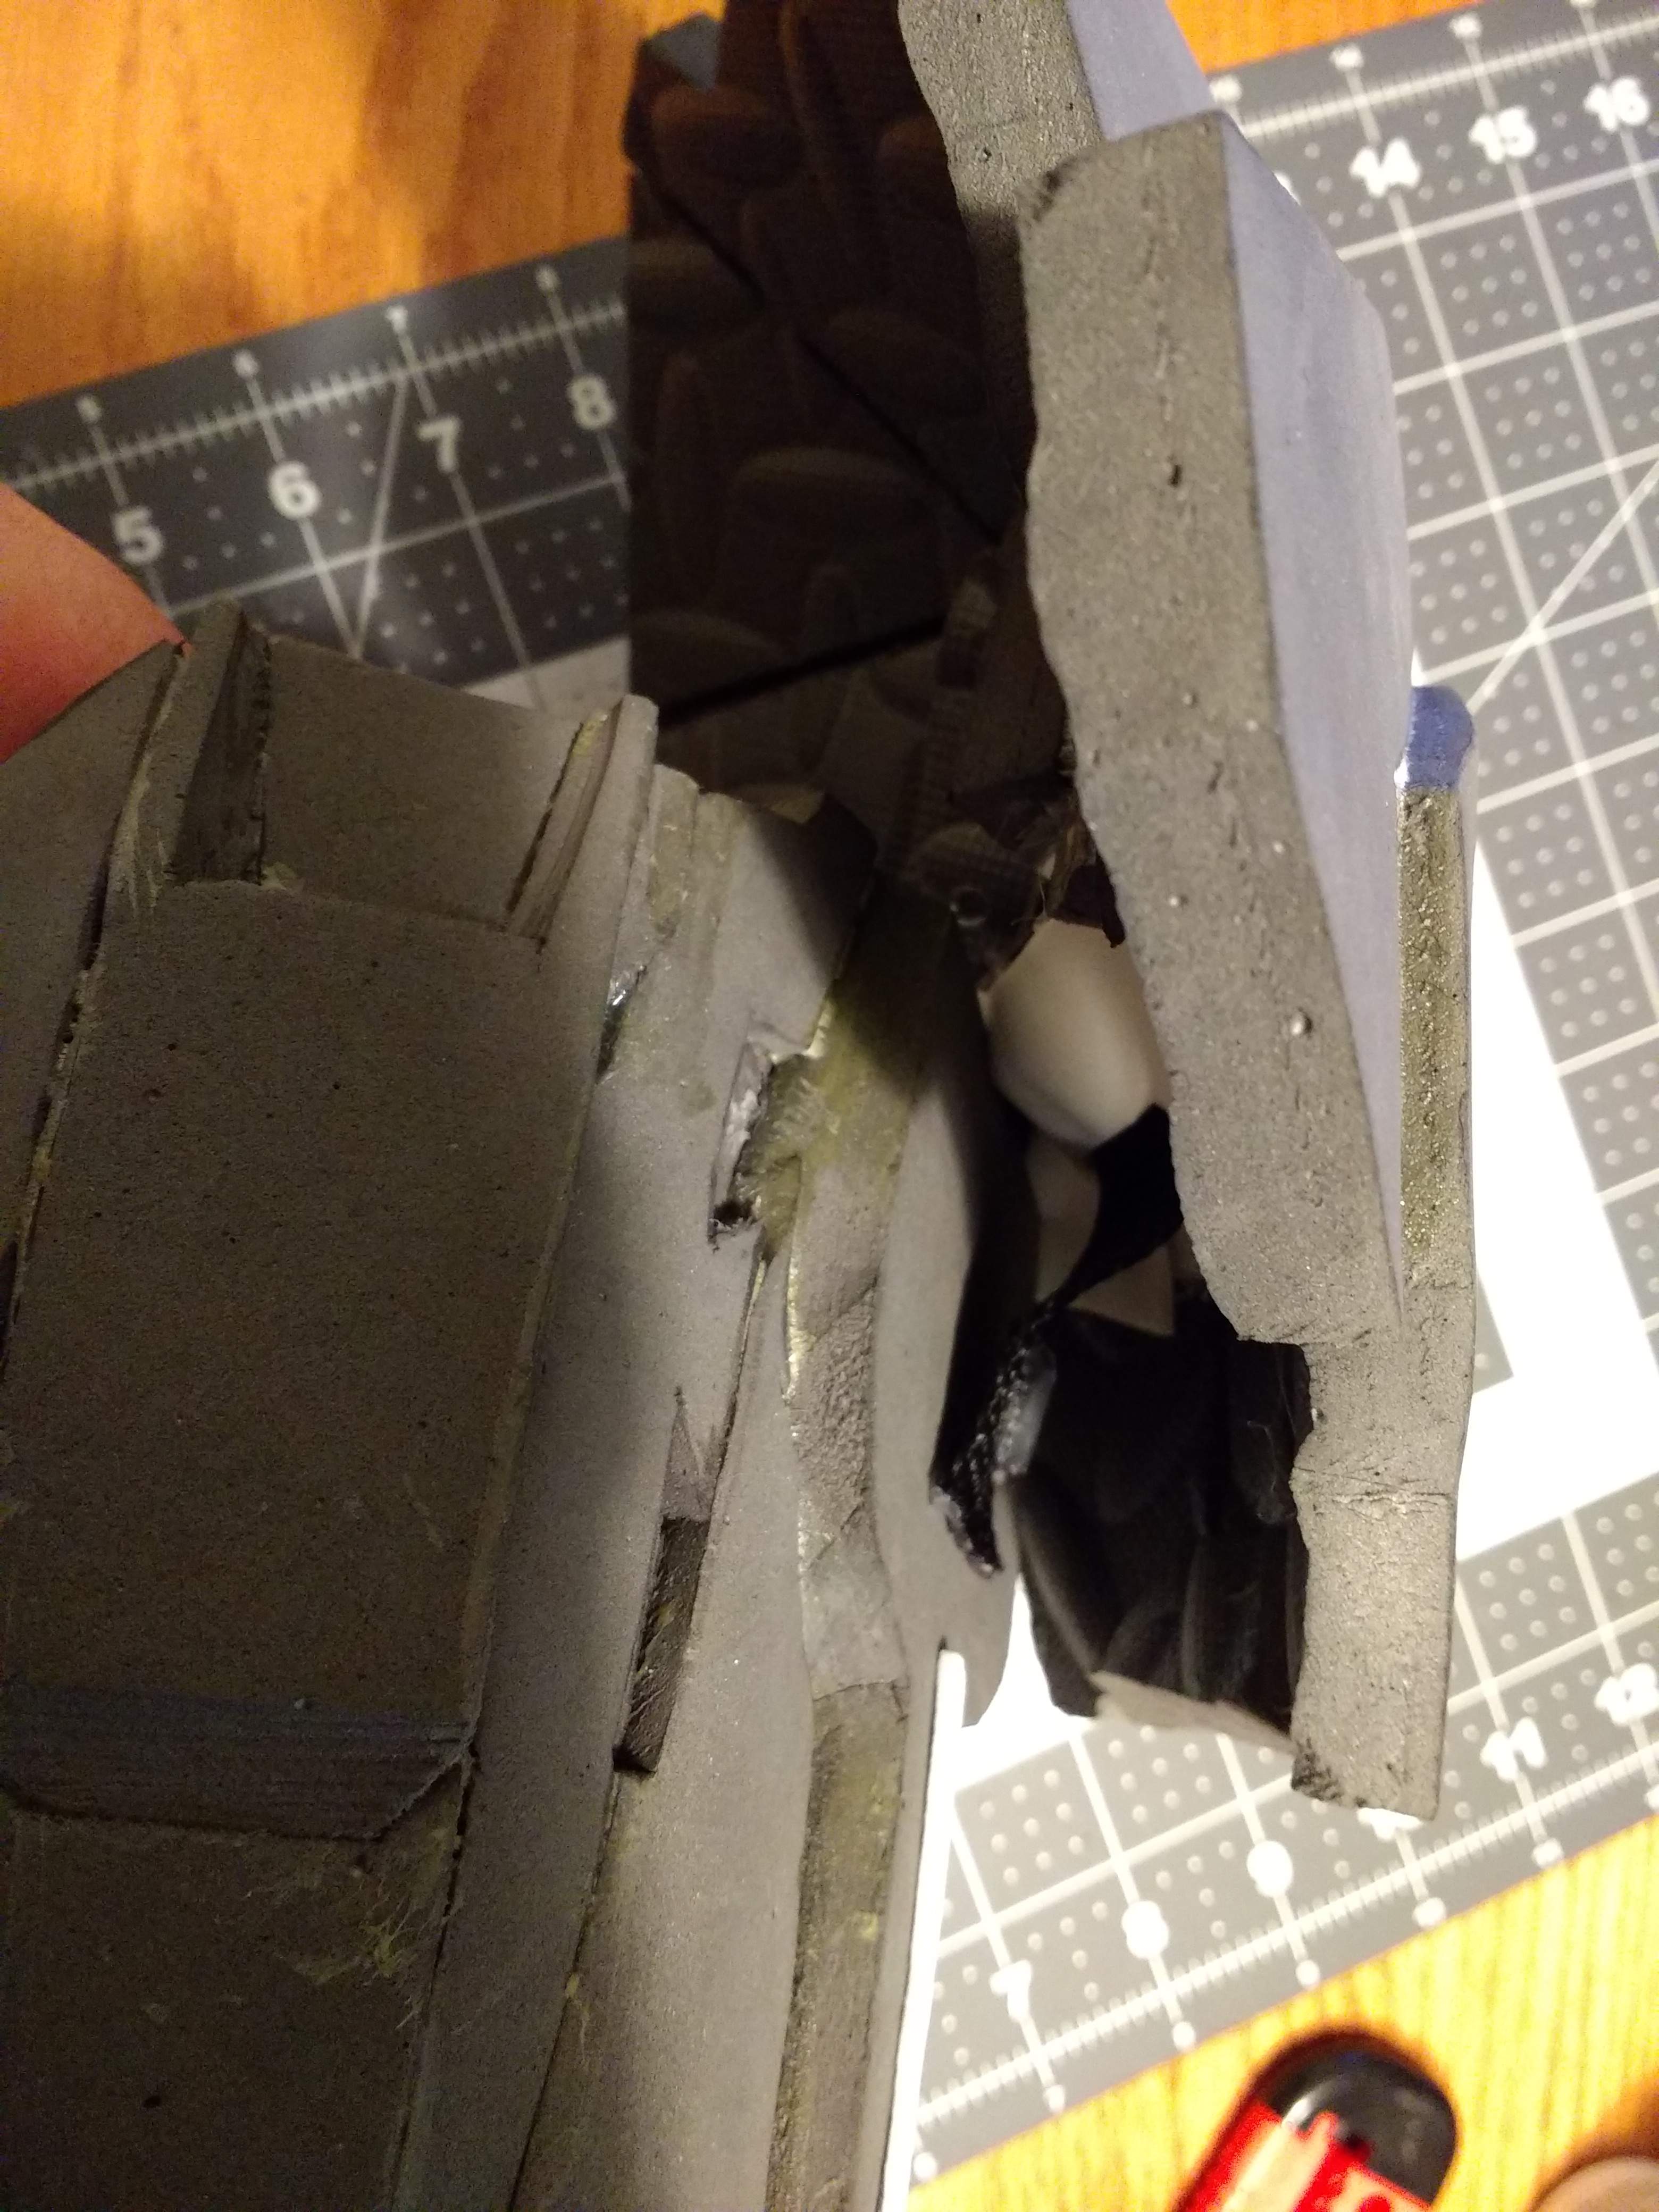
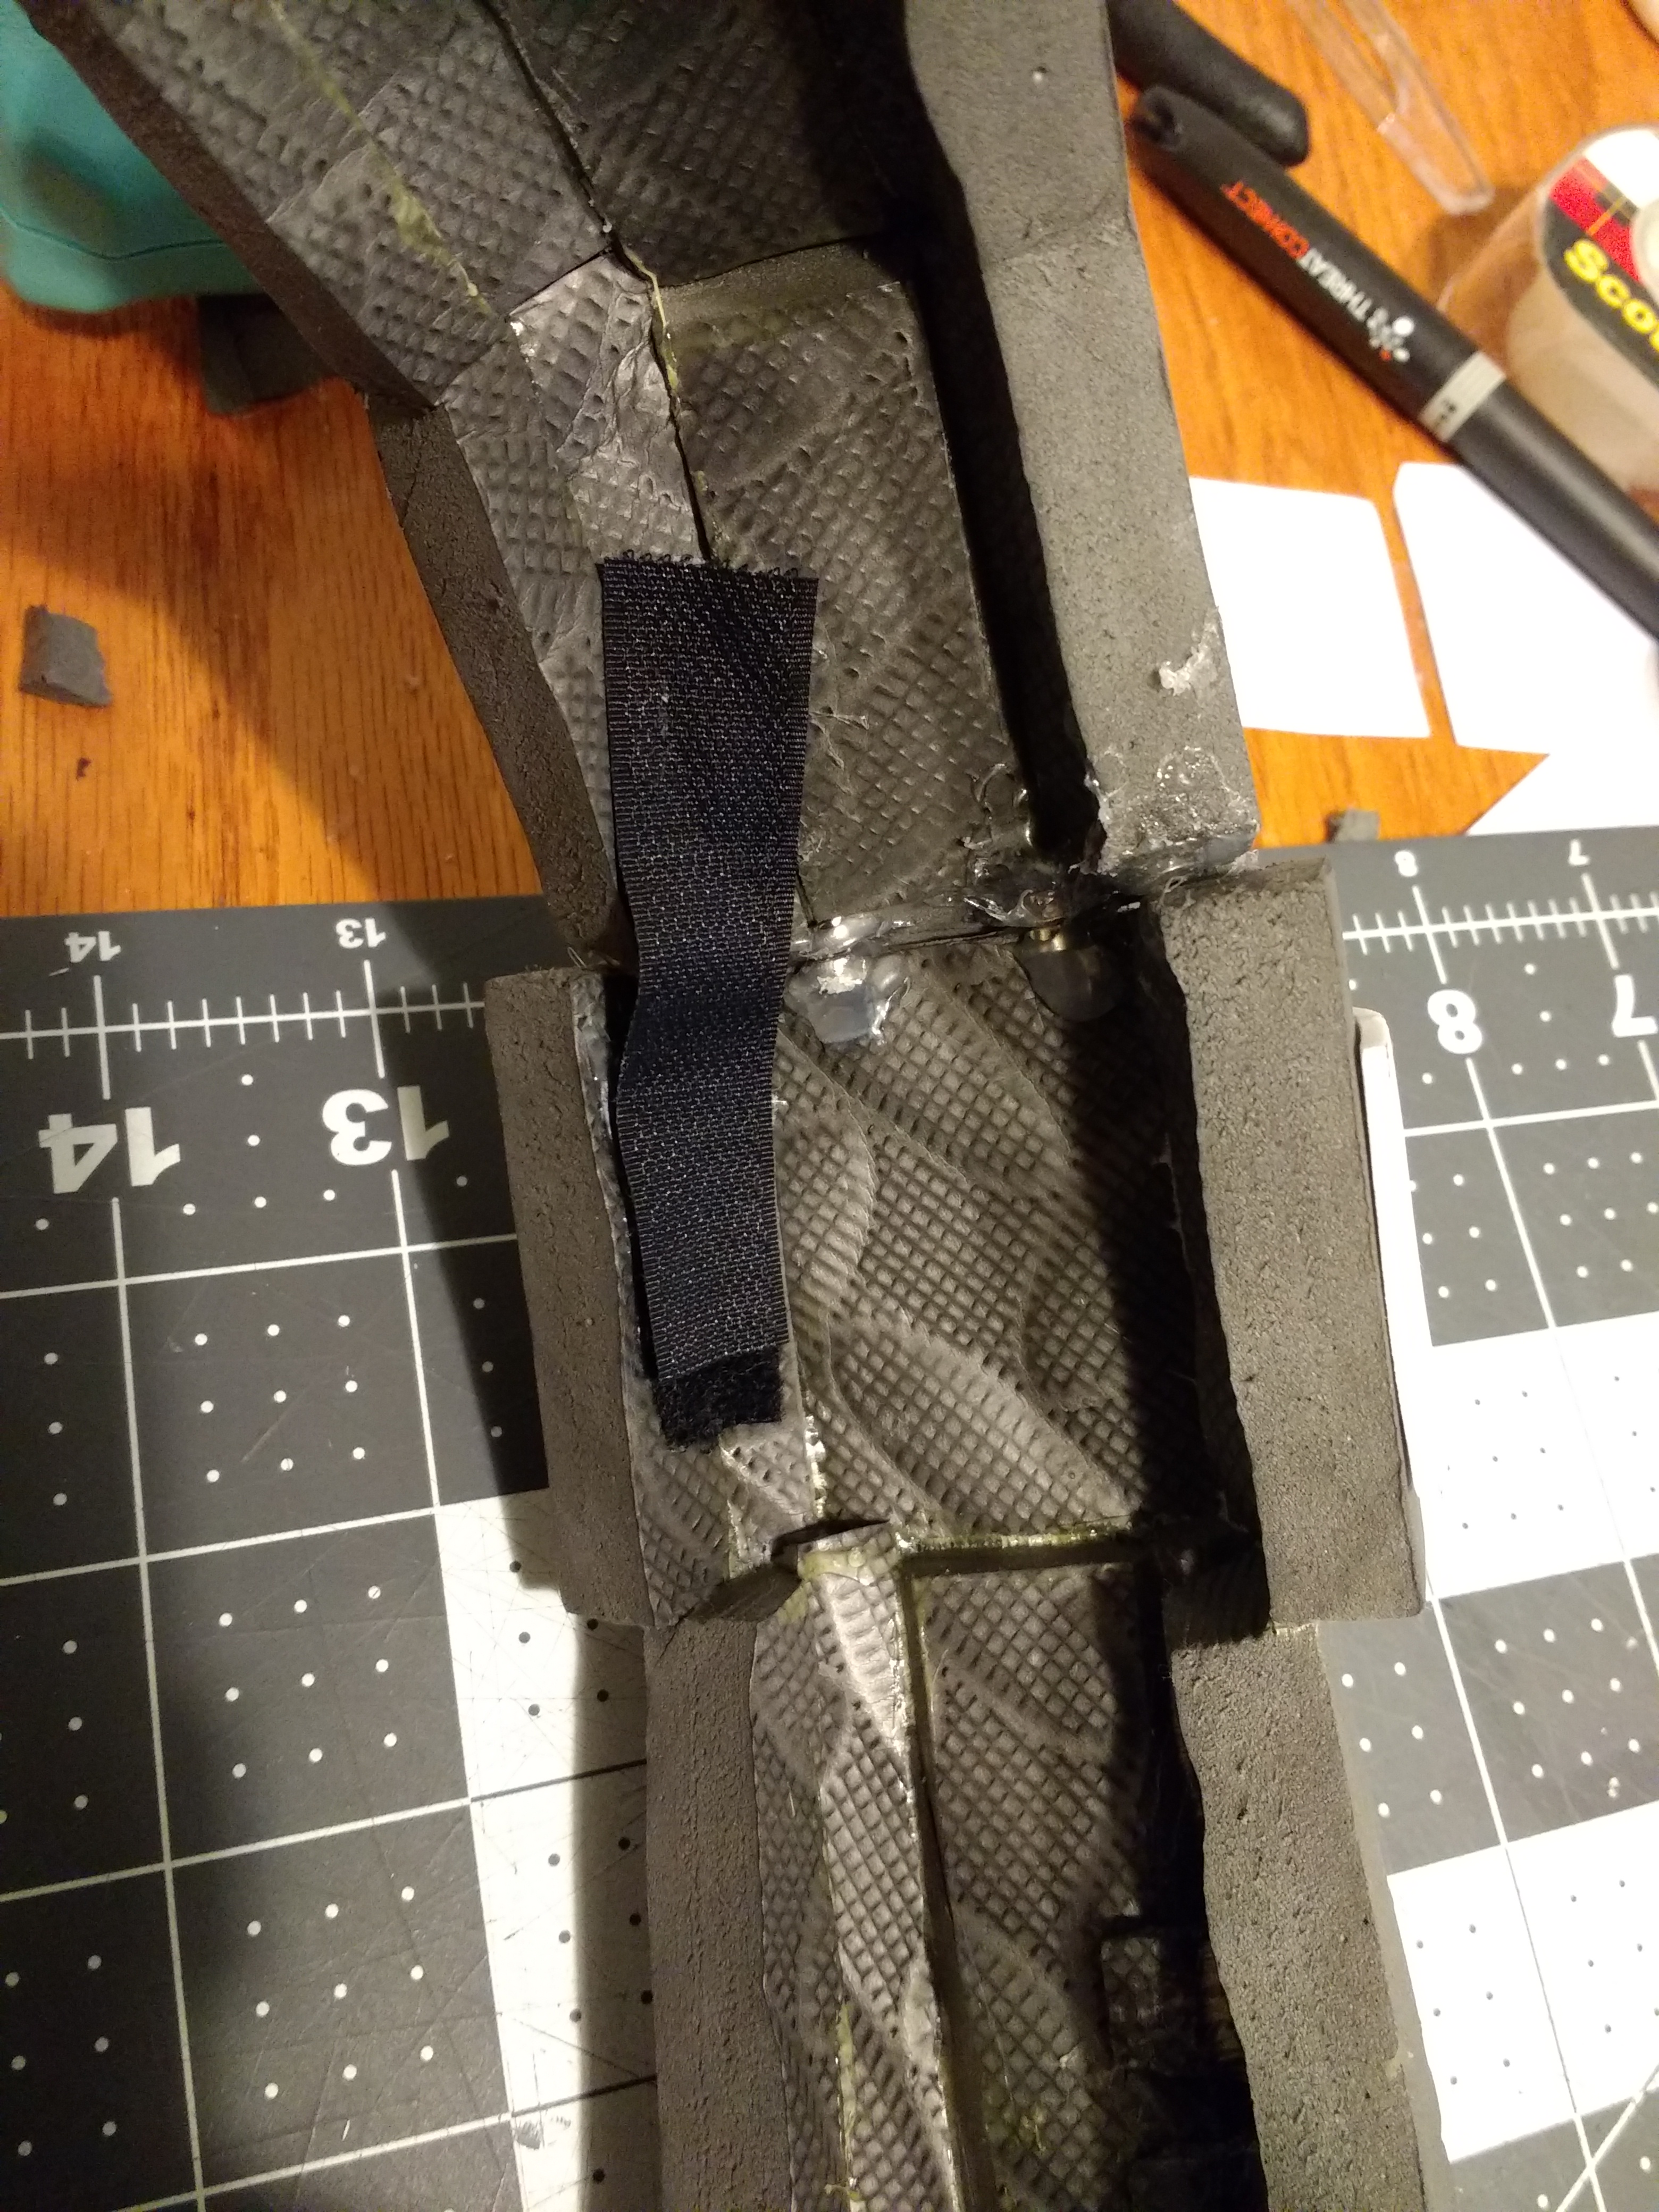
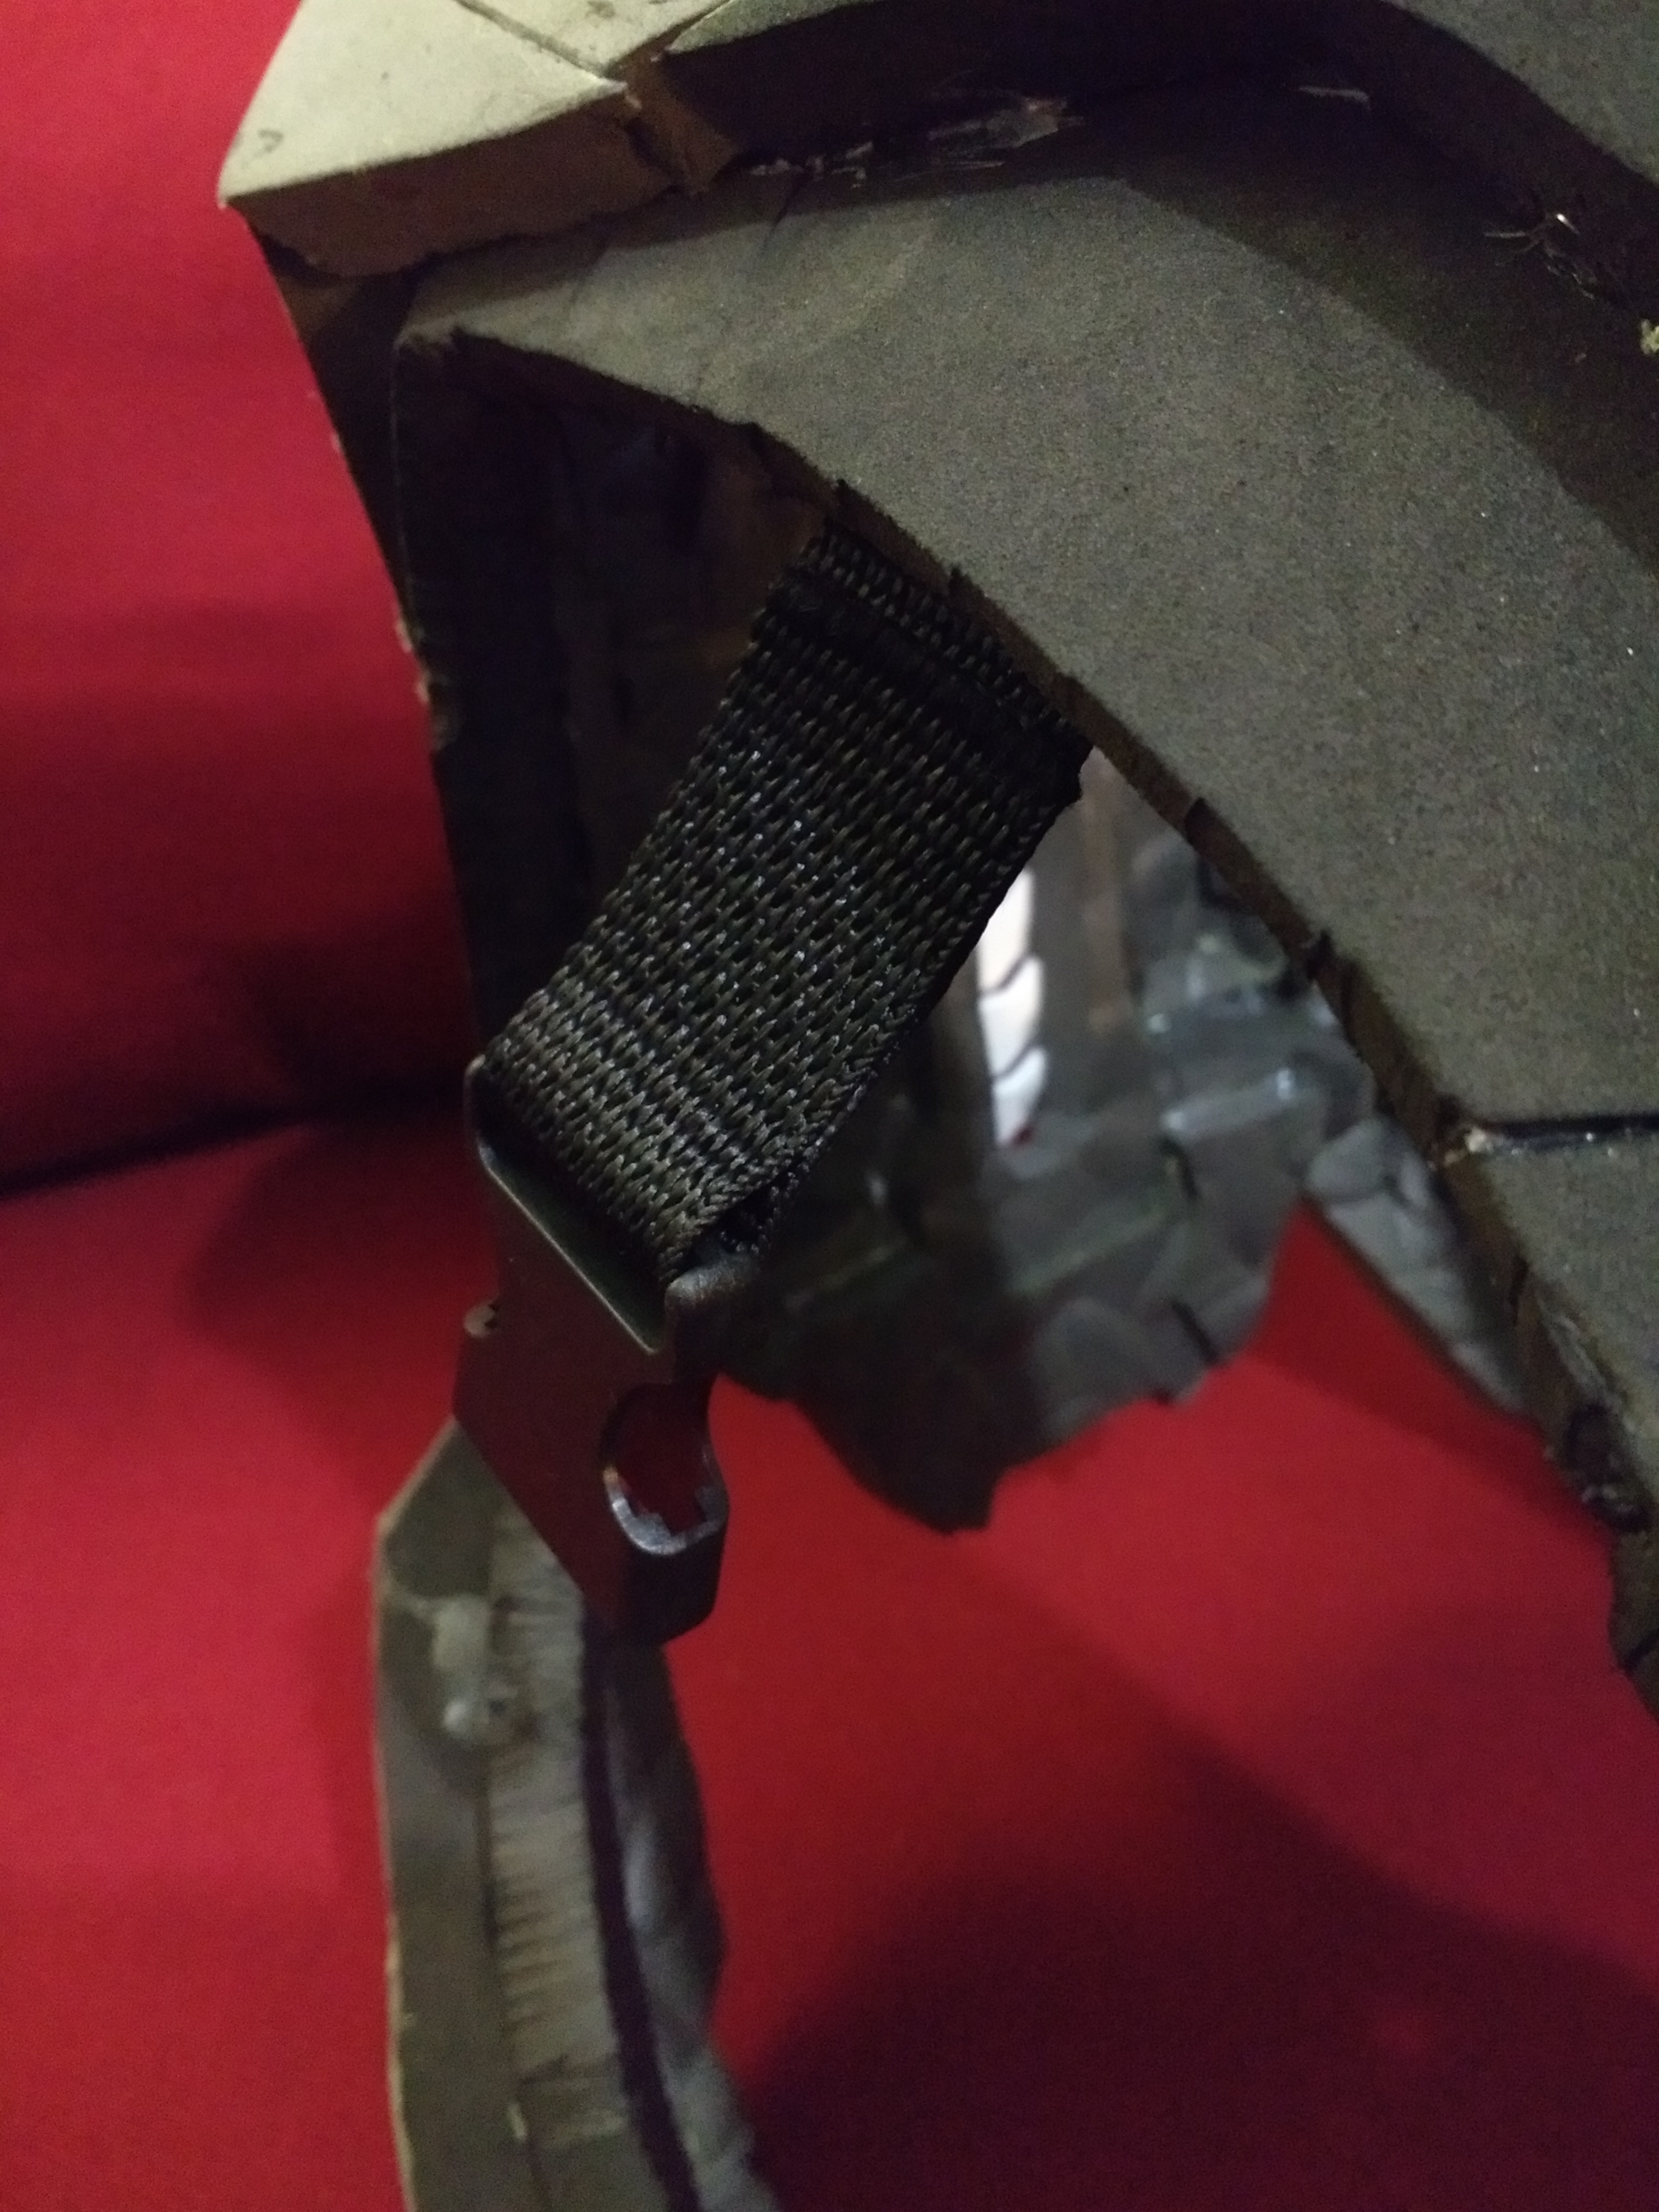
I'm not worried about the detail on the top of the left bicep, since it's going to be covered by the ODST attachment. I've got a short strap with a magnet on the inside of the ODST, which attaches to a magnet on the bicep (picture below). I figured it would give me more flexibility in my arms if I need it. The top of the attachment will be held on with the normal strap and buckle to the chest piece, so the magnetic part is to help it stay in the right place.
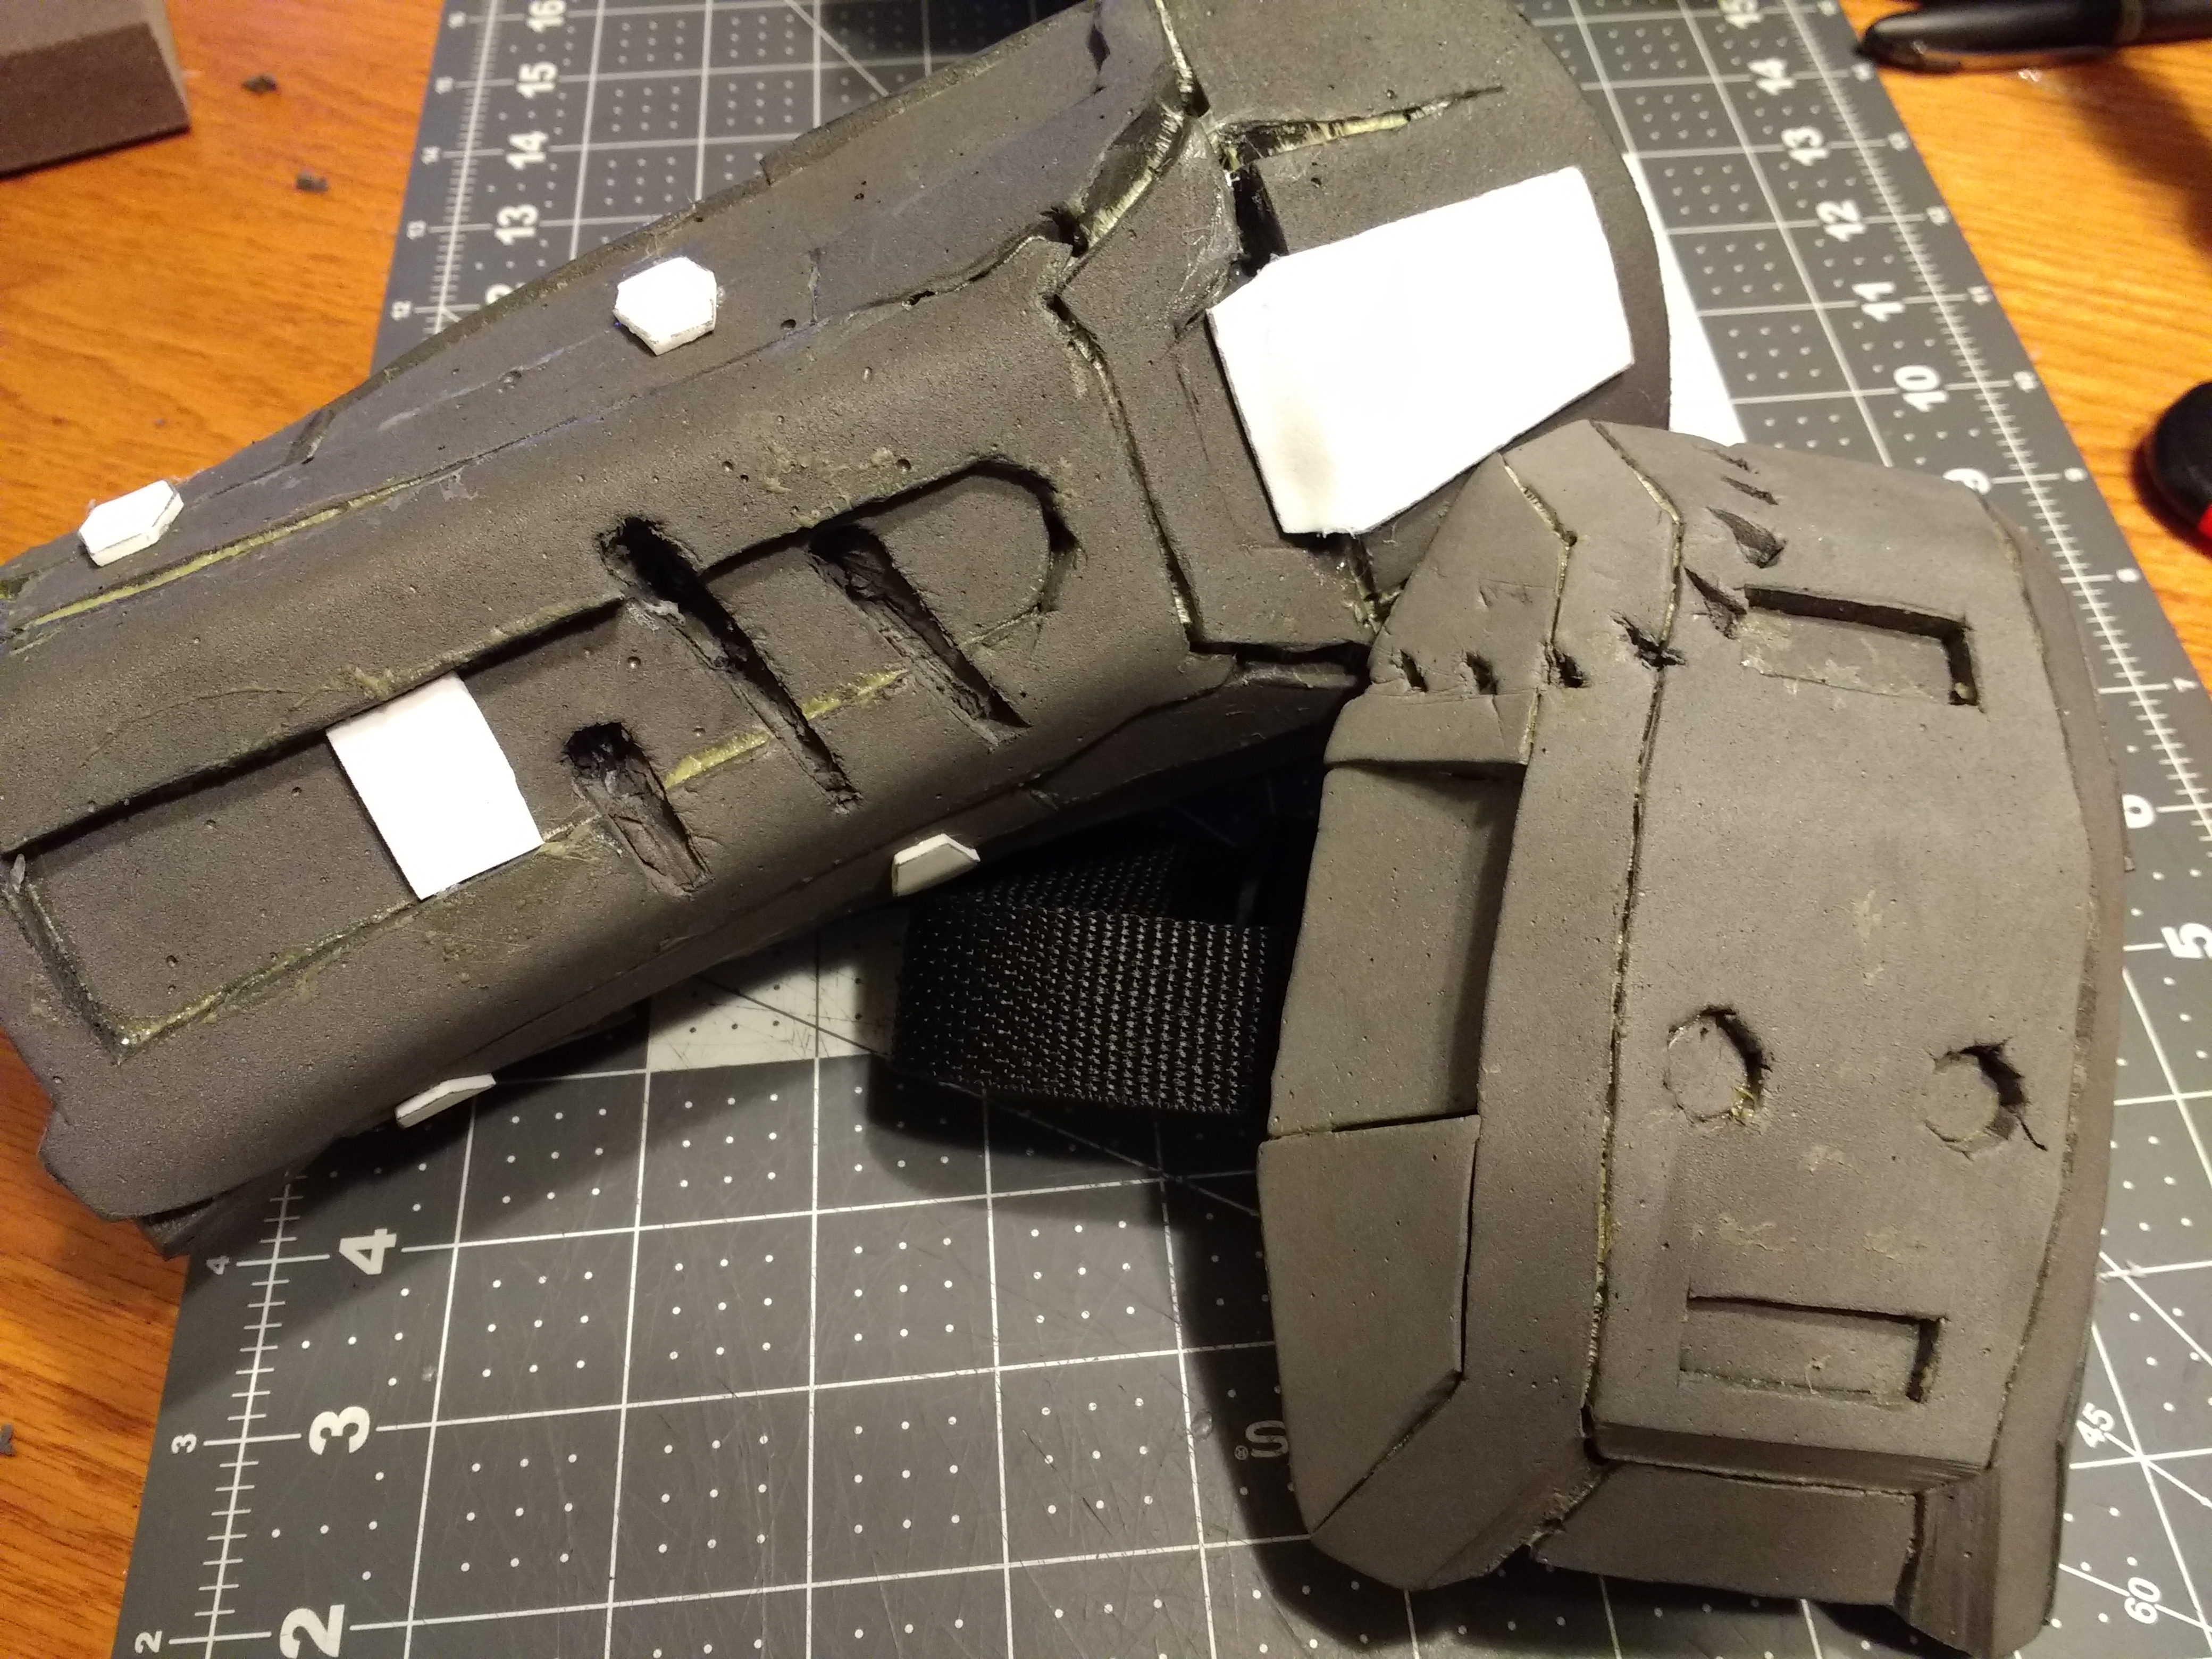
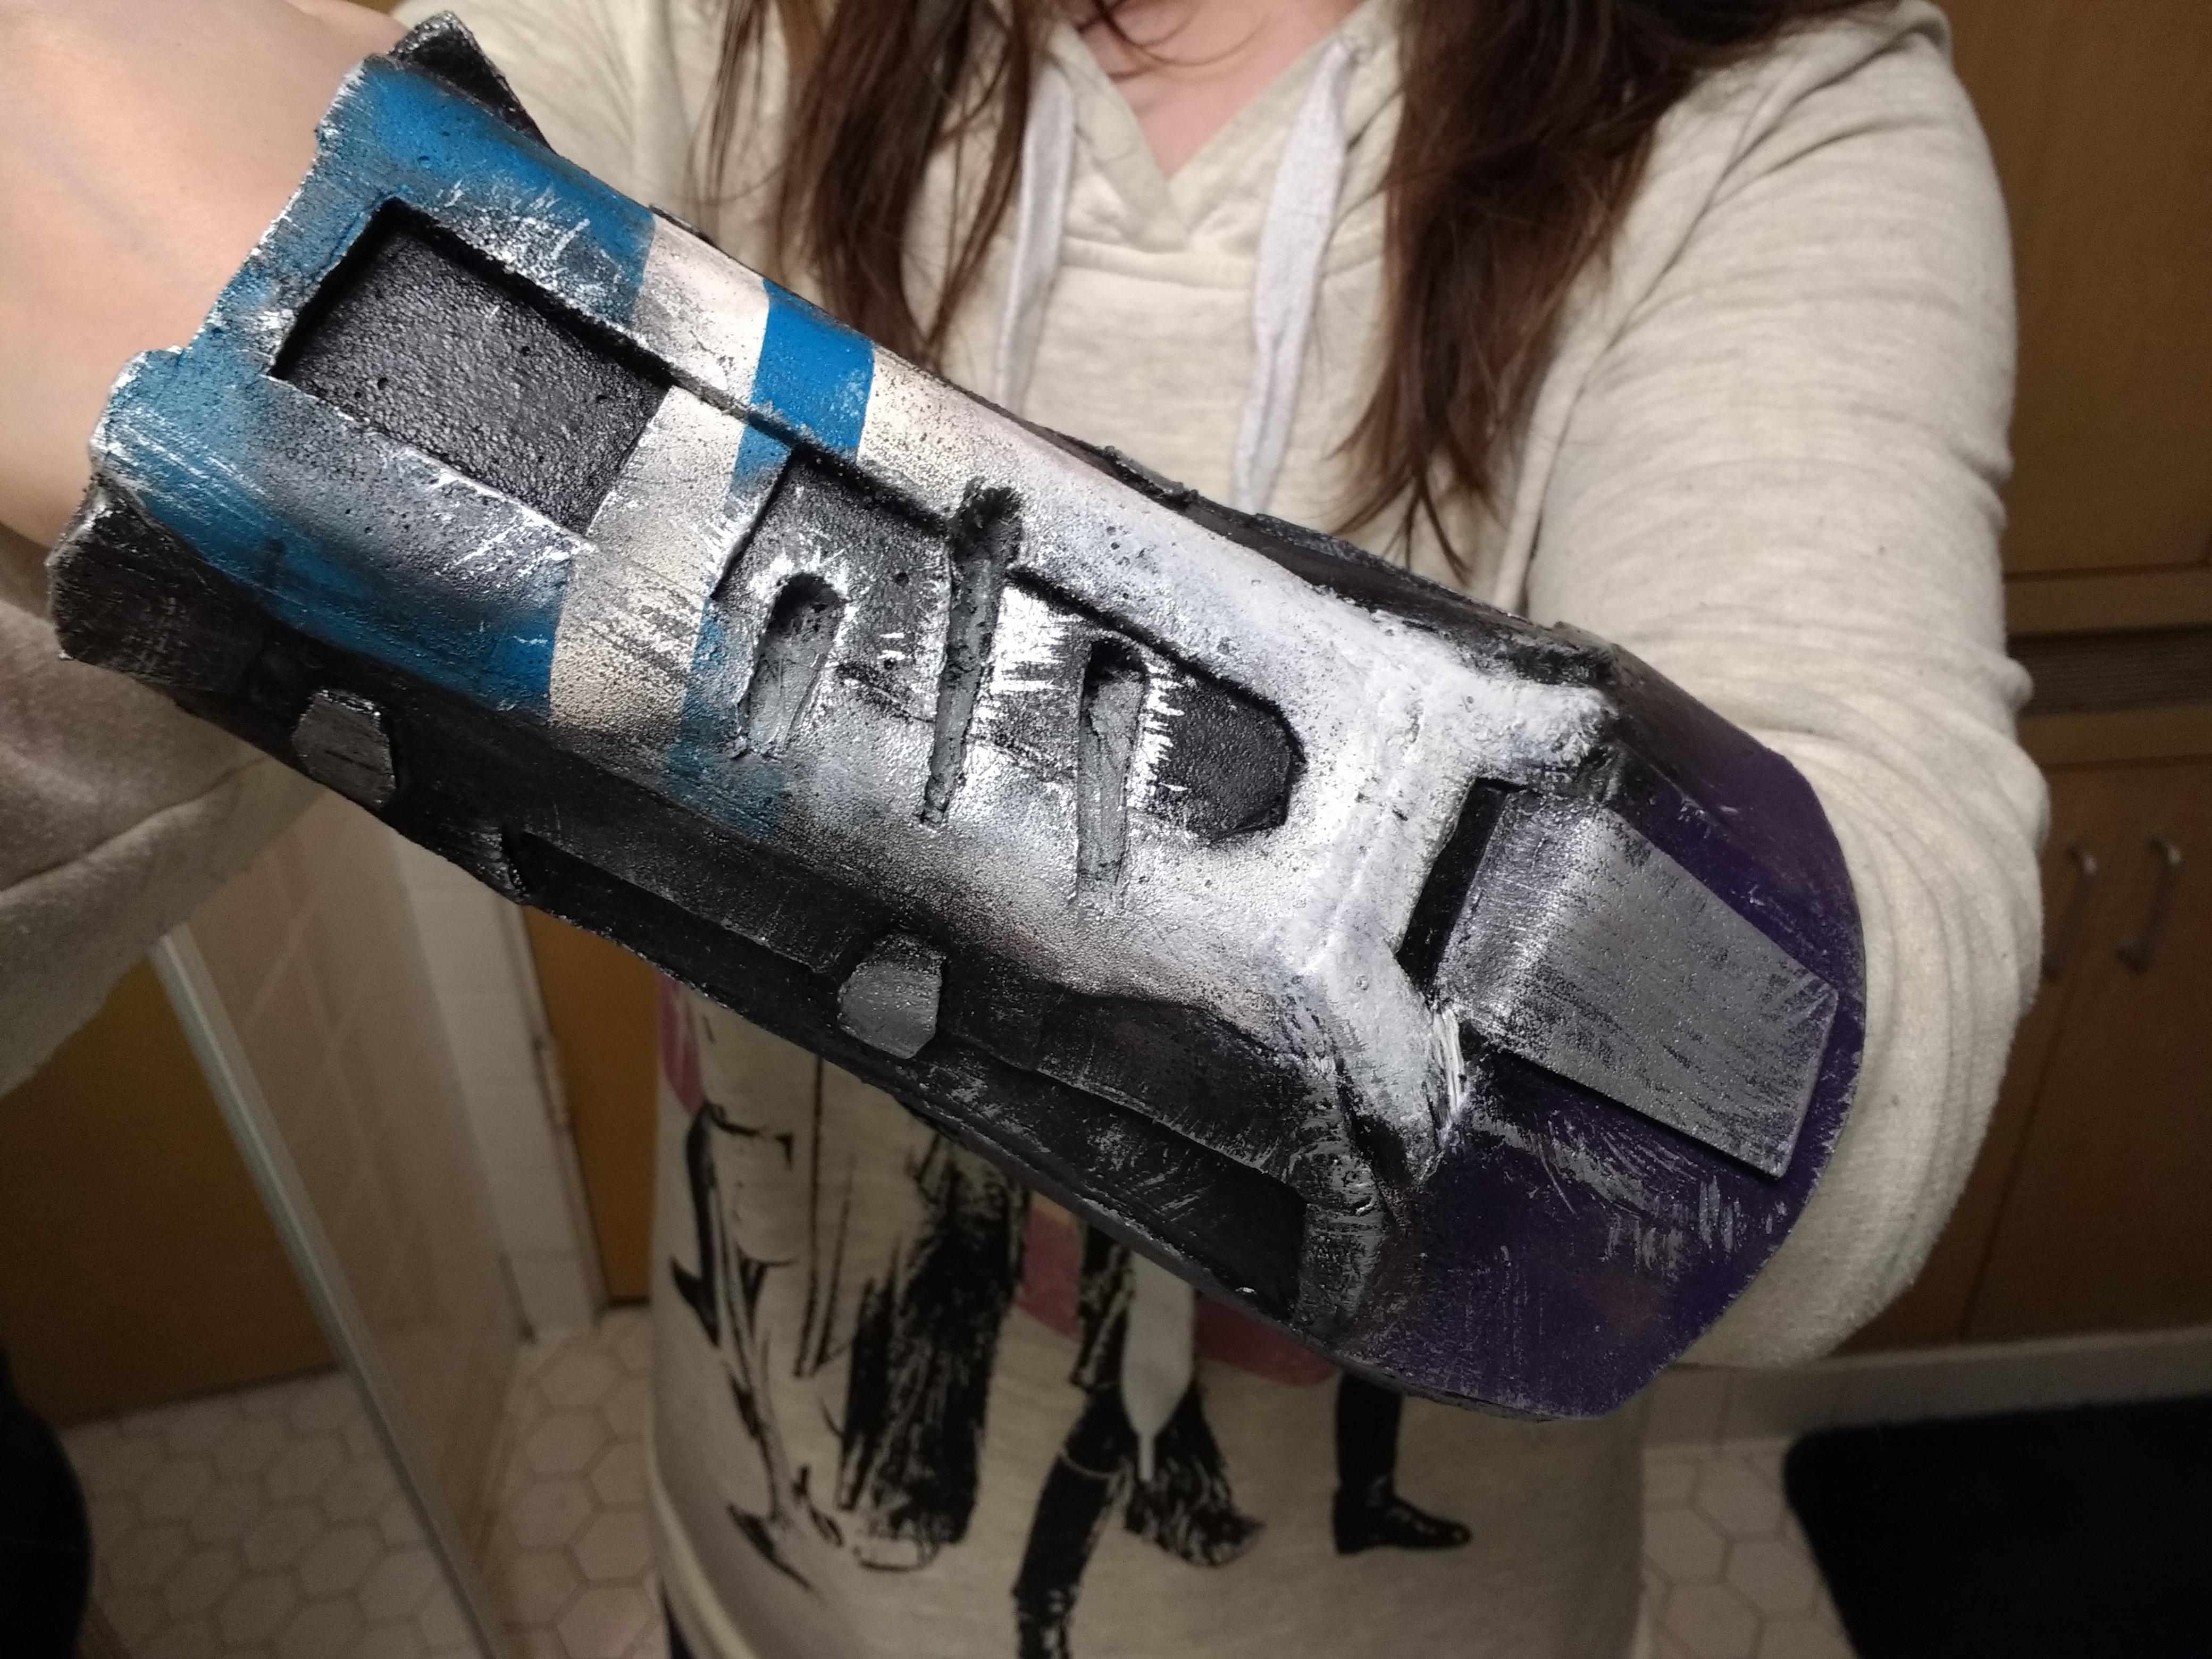
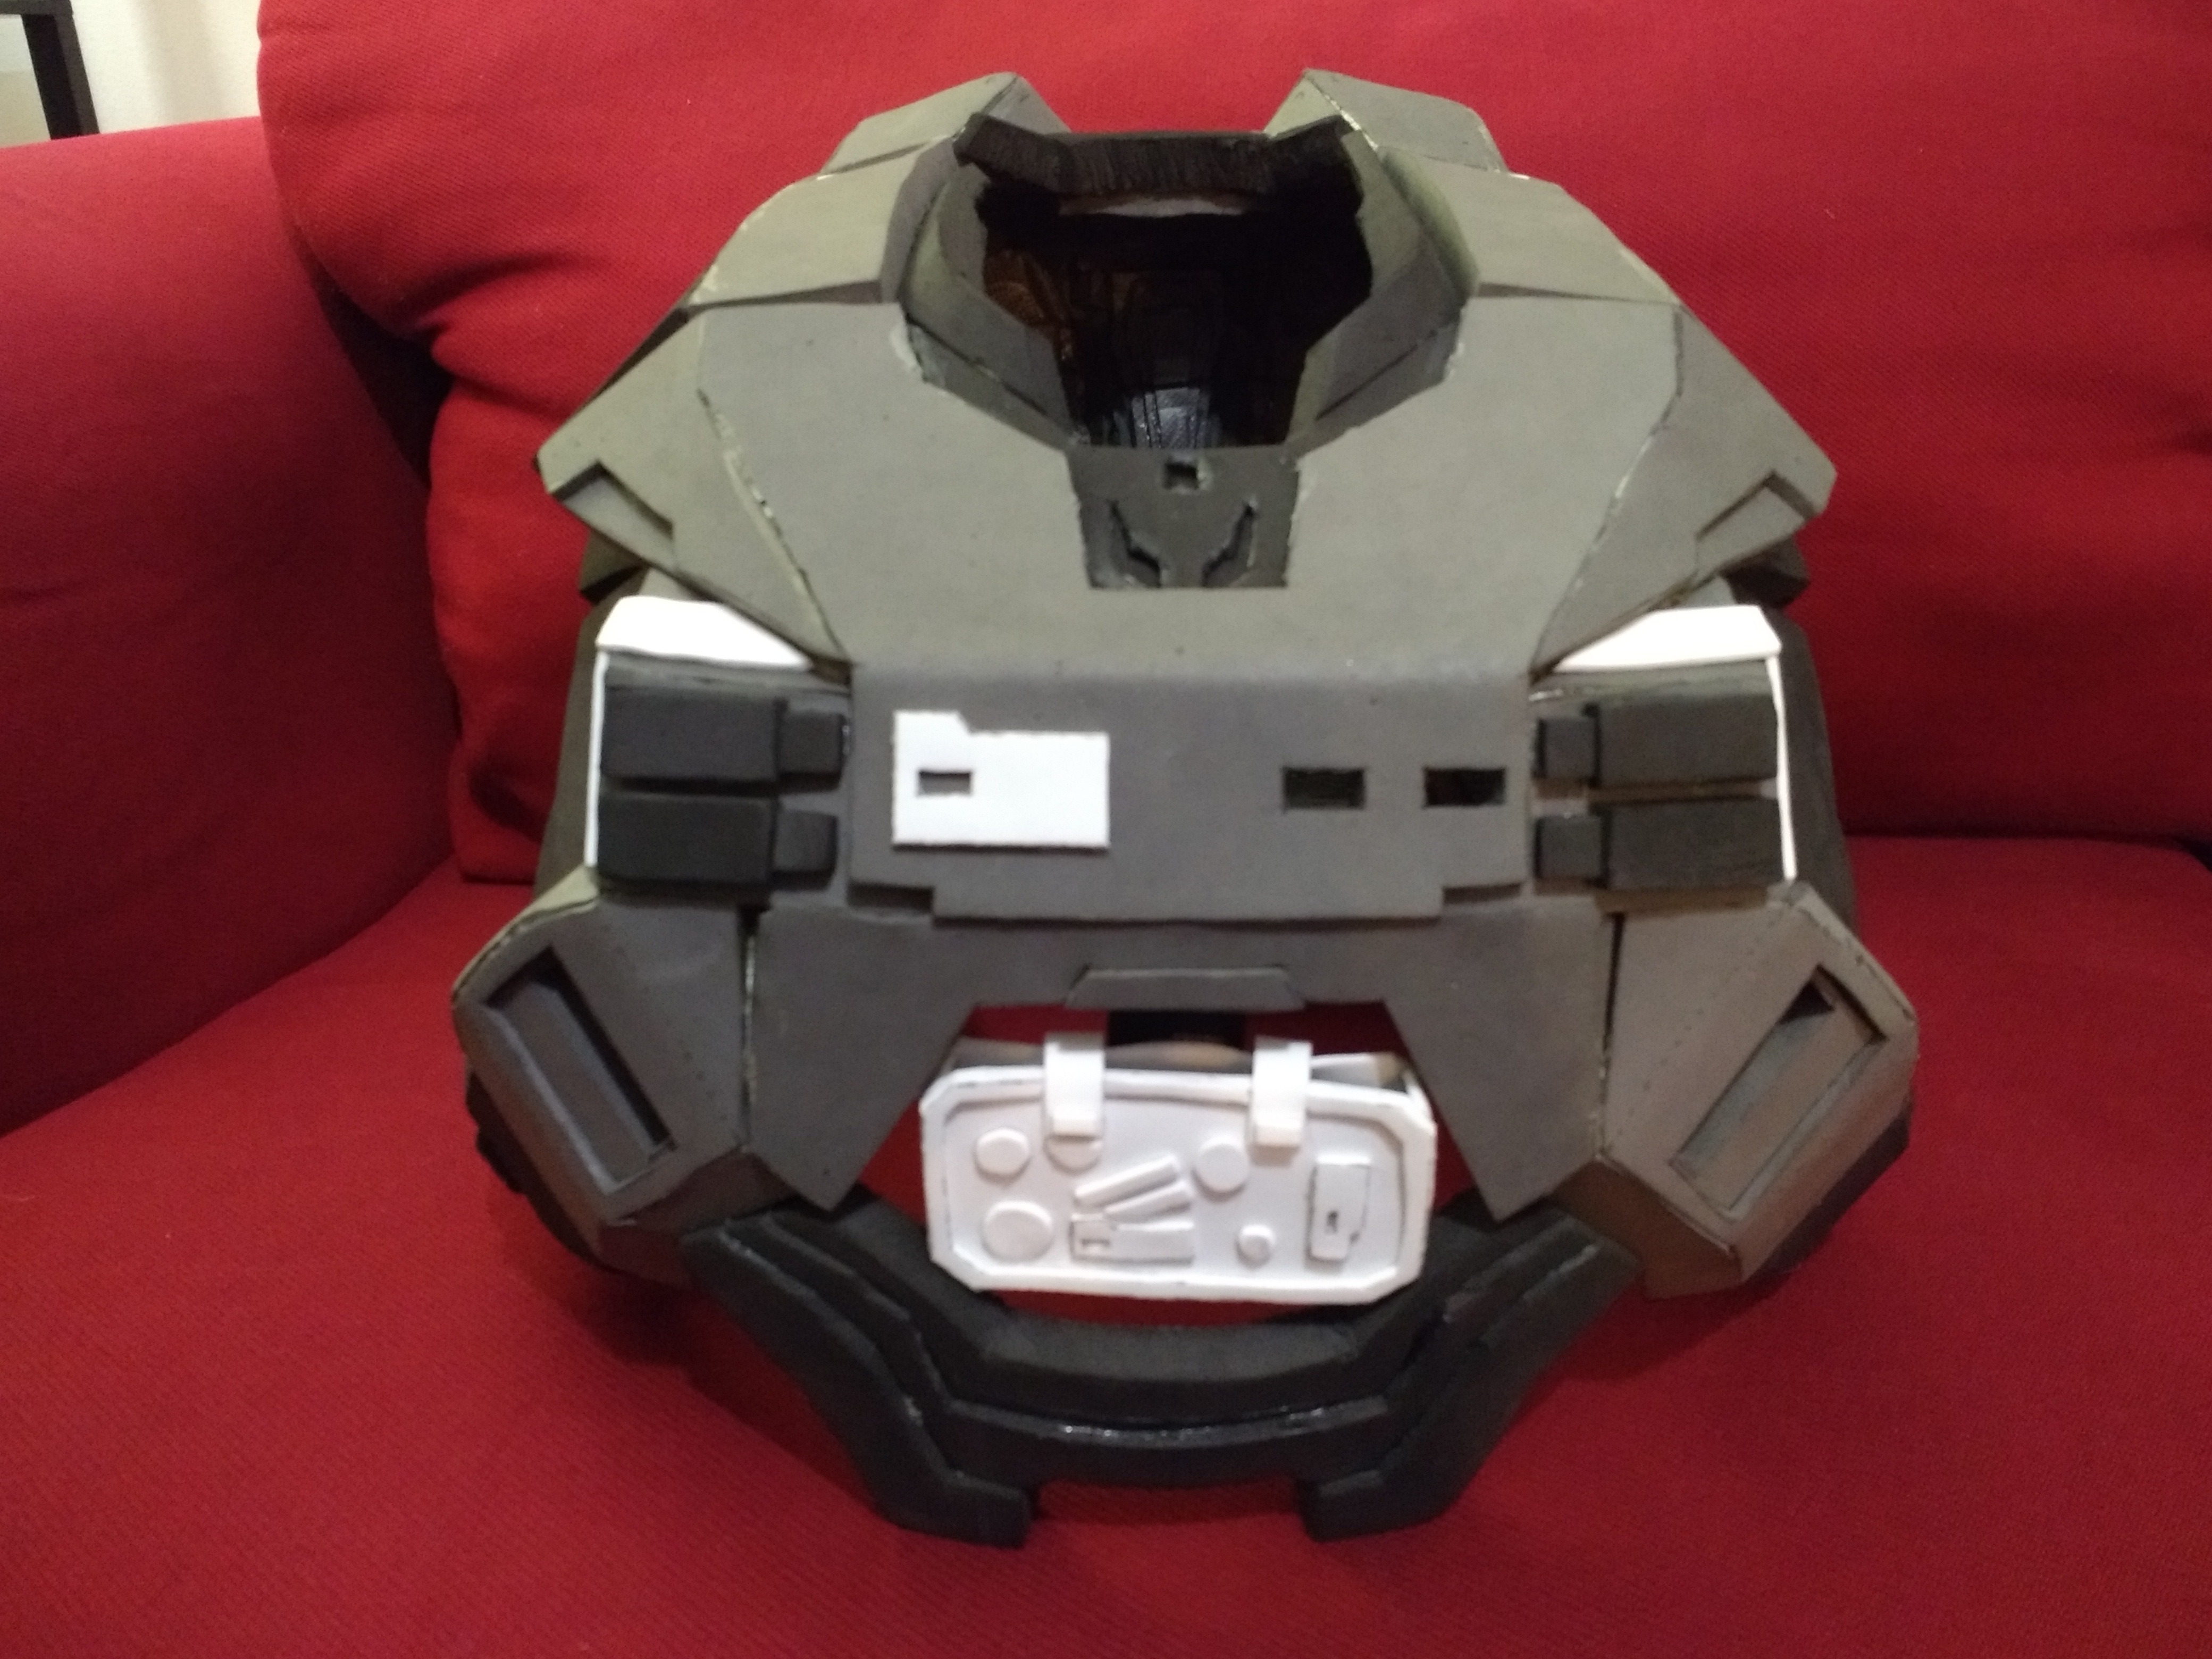
I also did some battle damage! Once I realized I wanted battle damage, it didn't take long to decide what the damage would be from: a freaking dinosaur. So here we have the results of a velociraptor attack:
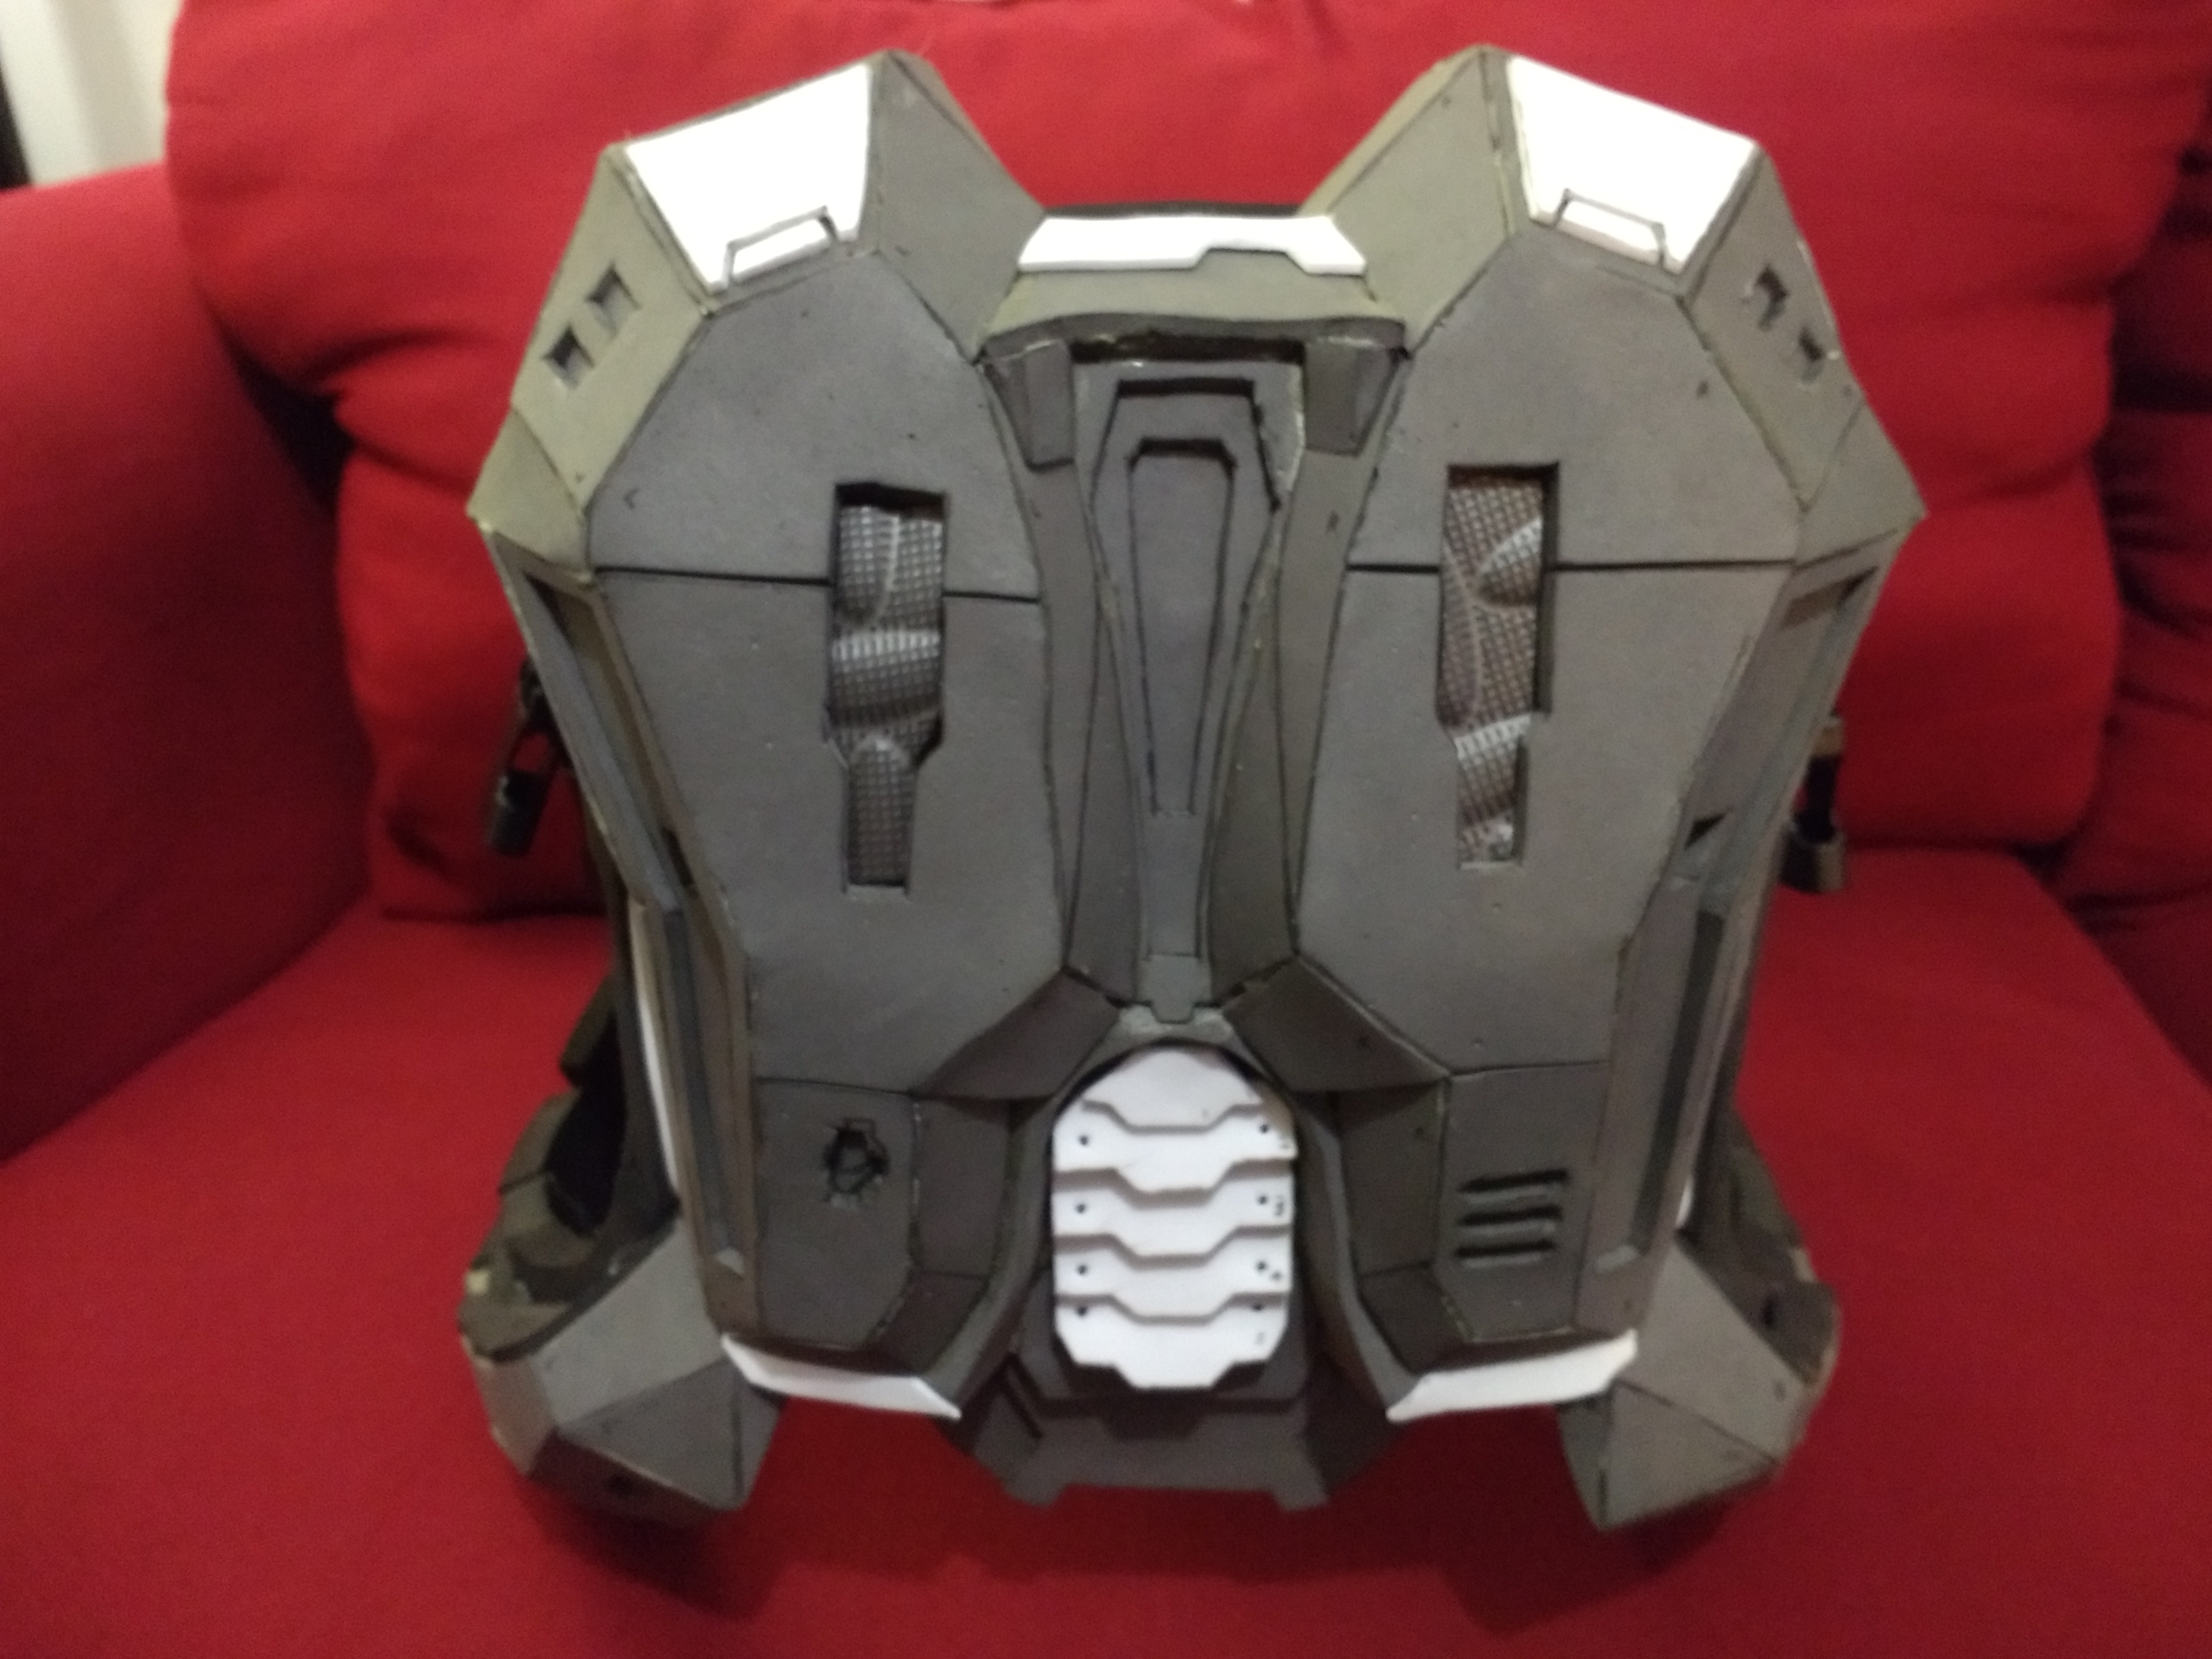
I think I'm going to add another claw scratch on the front of my left thigh and on the back of my chest piece, when I make that.
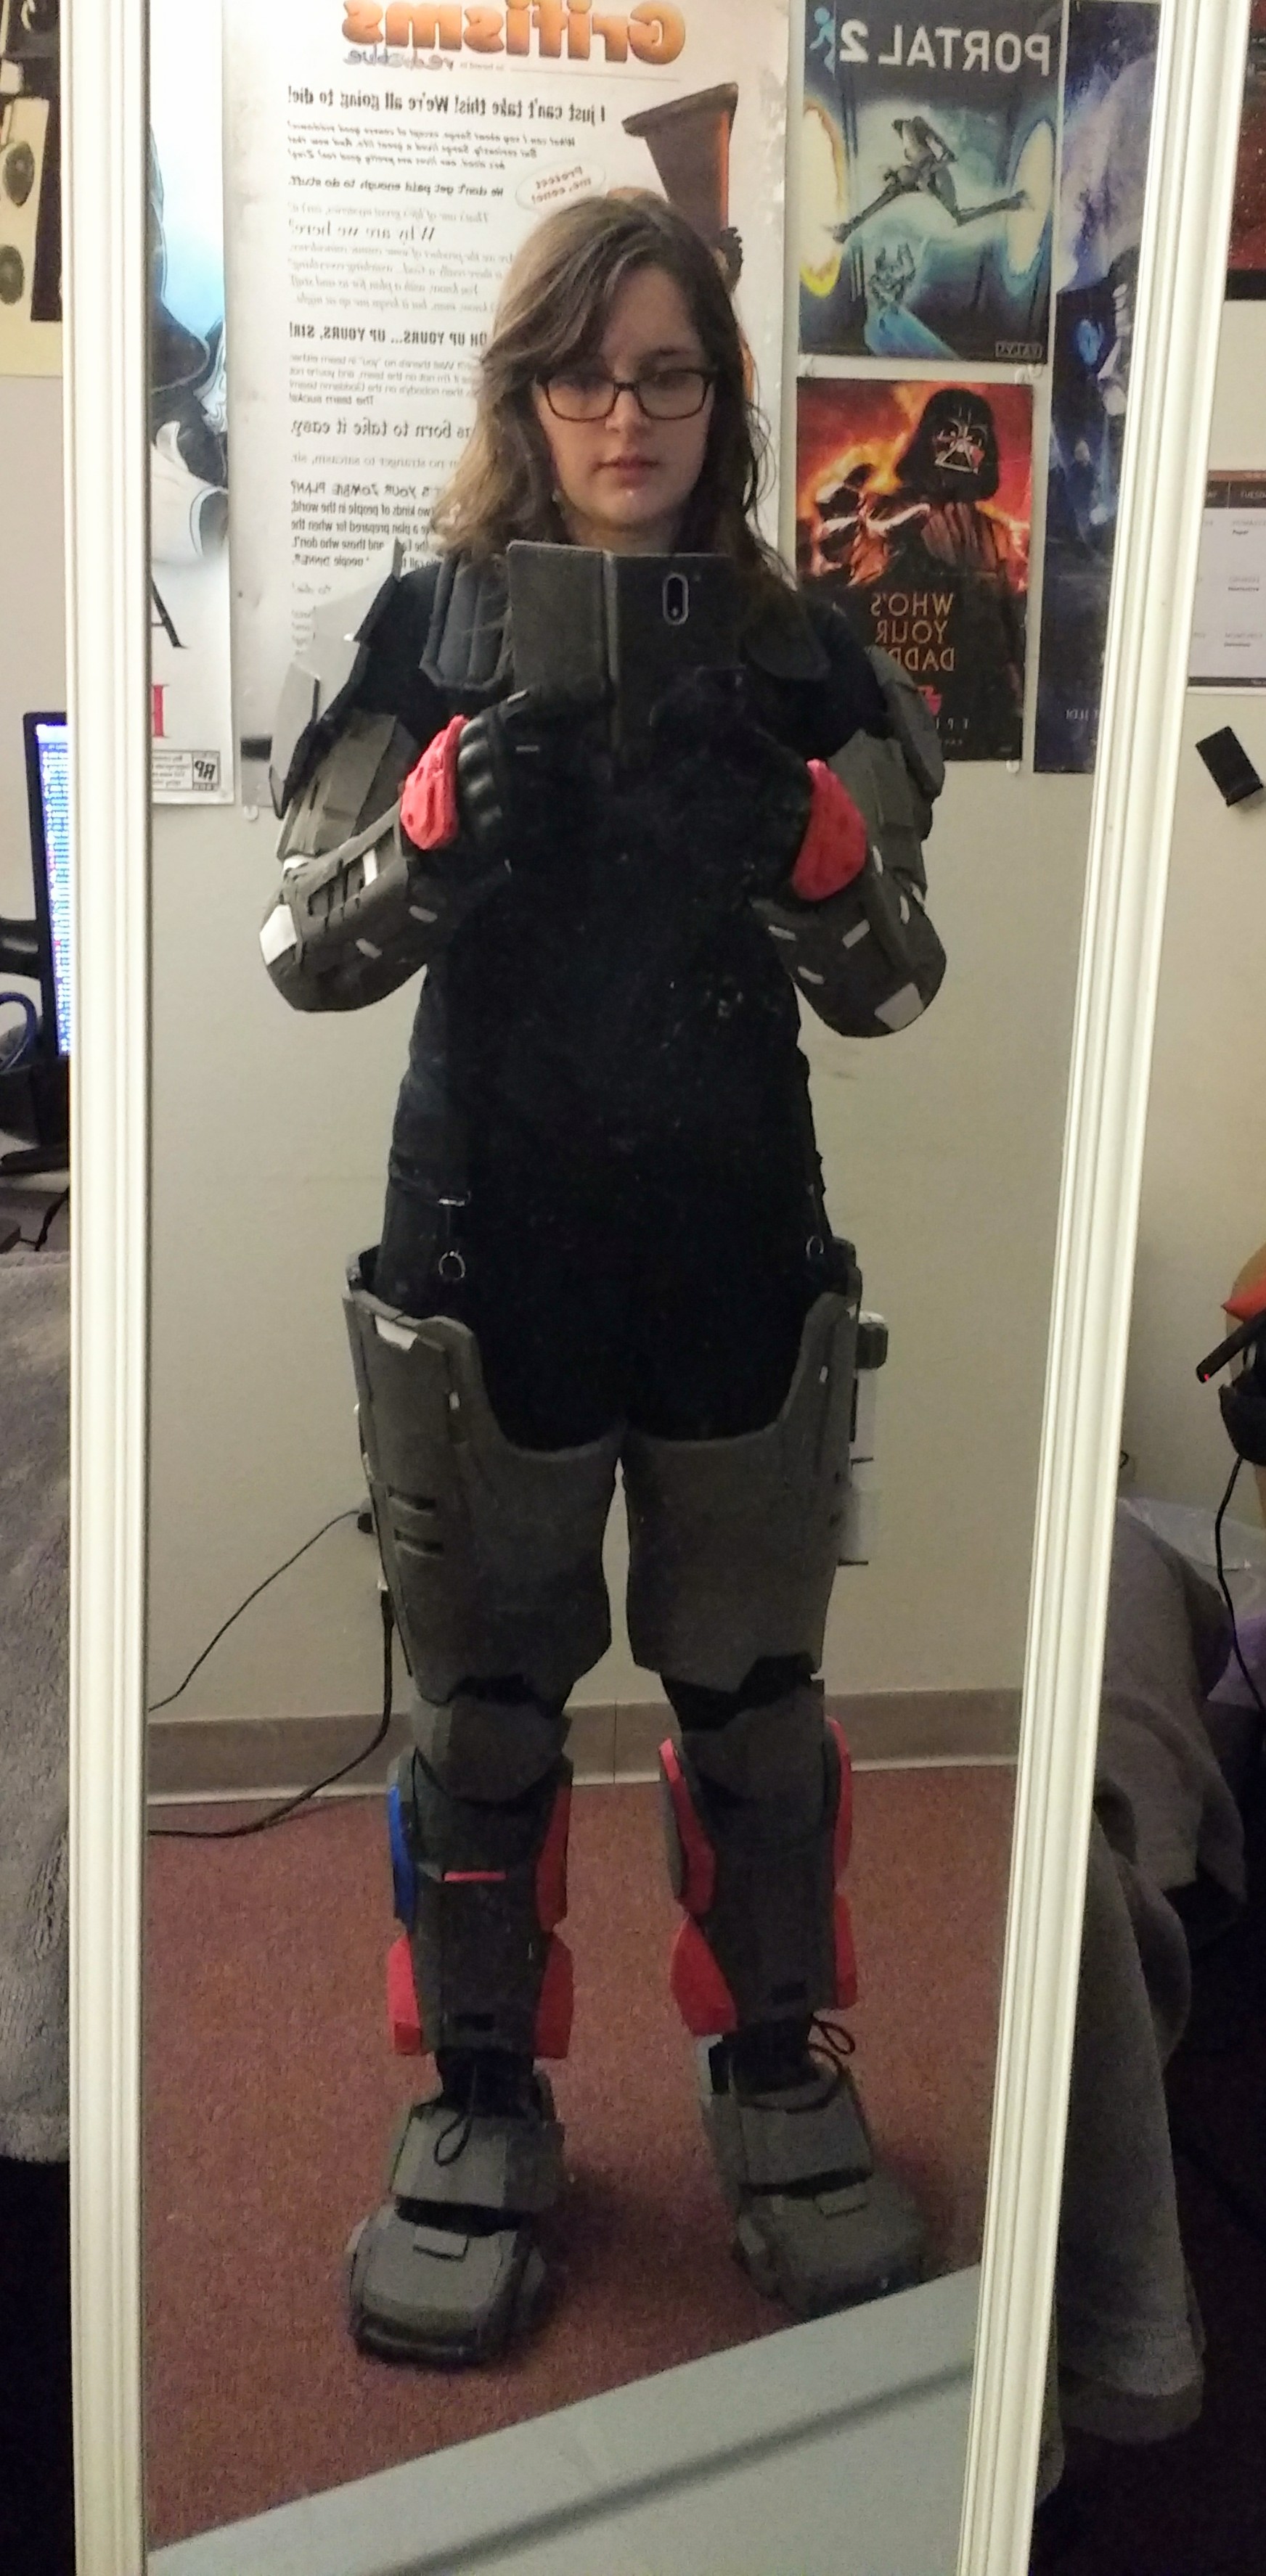
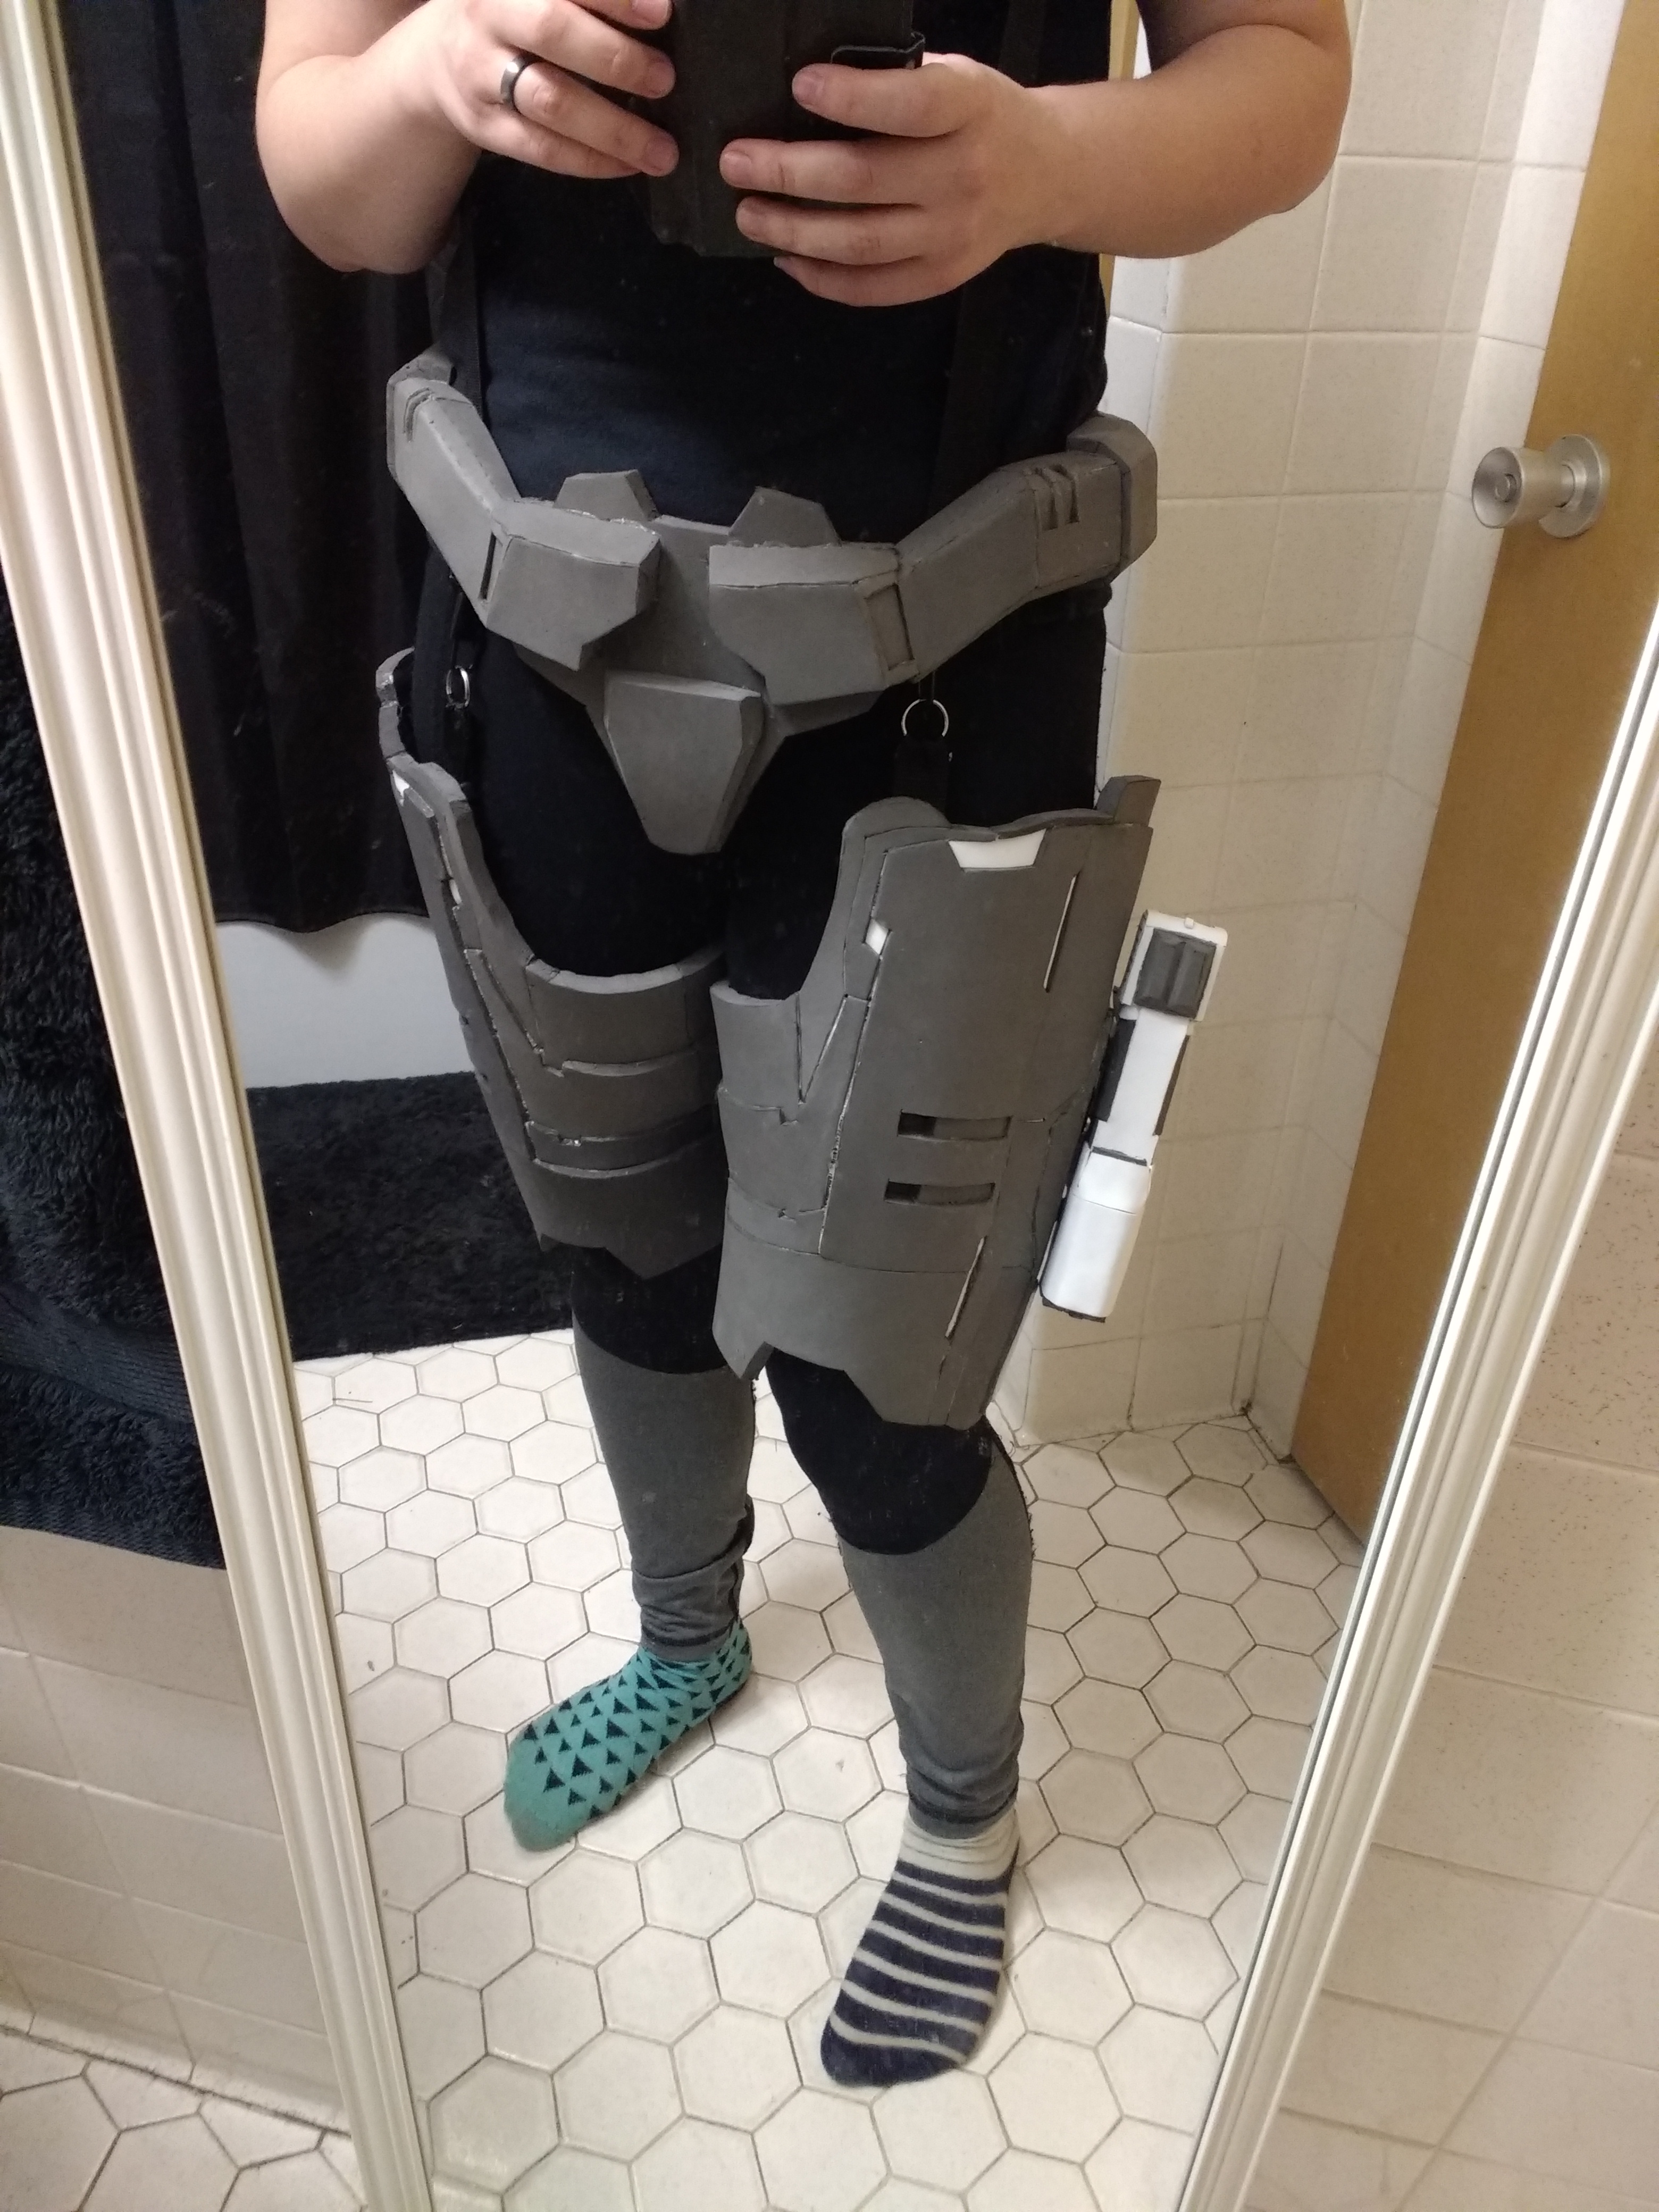
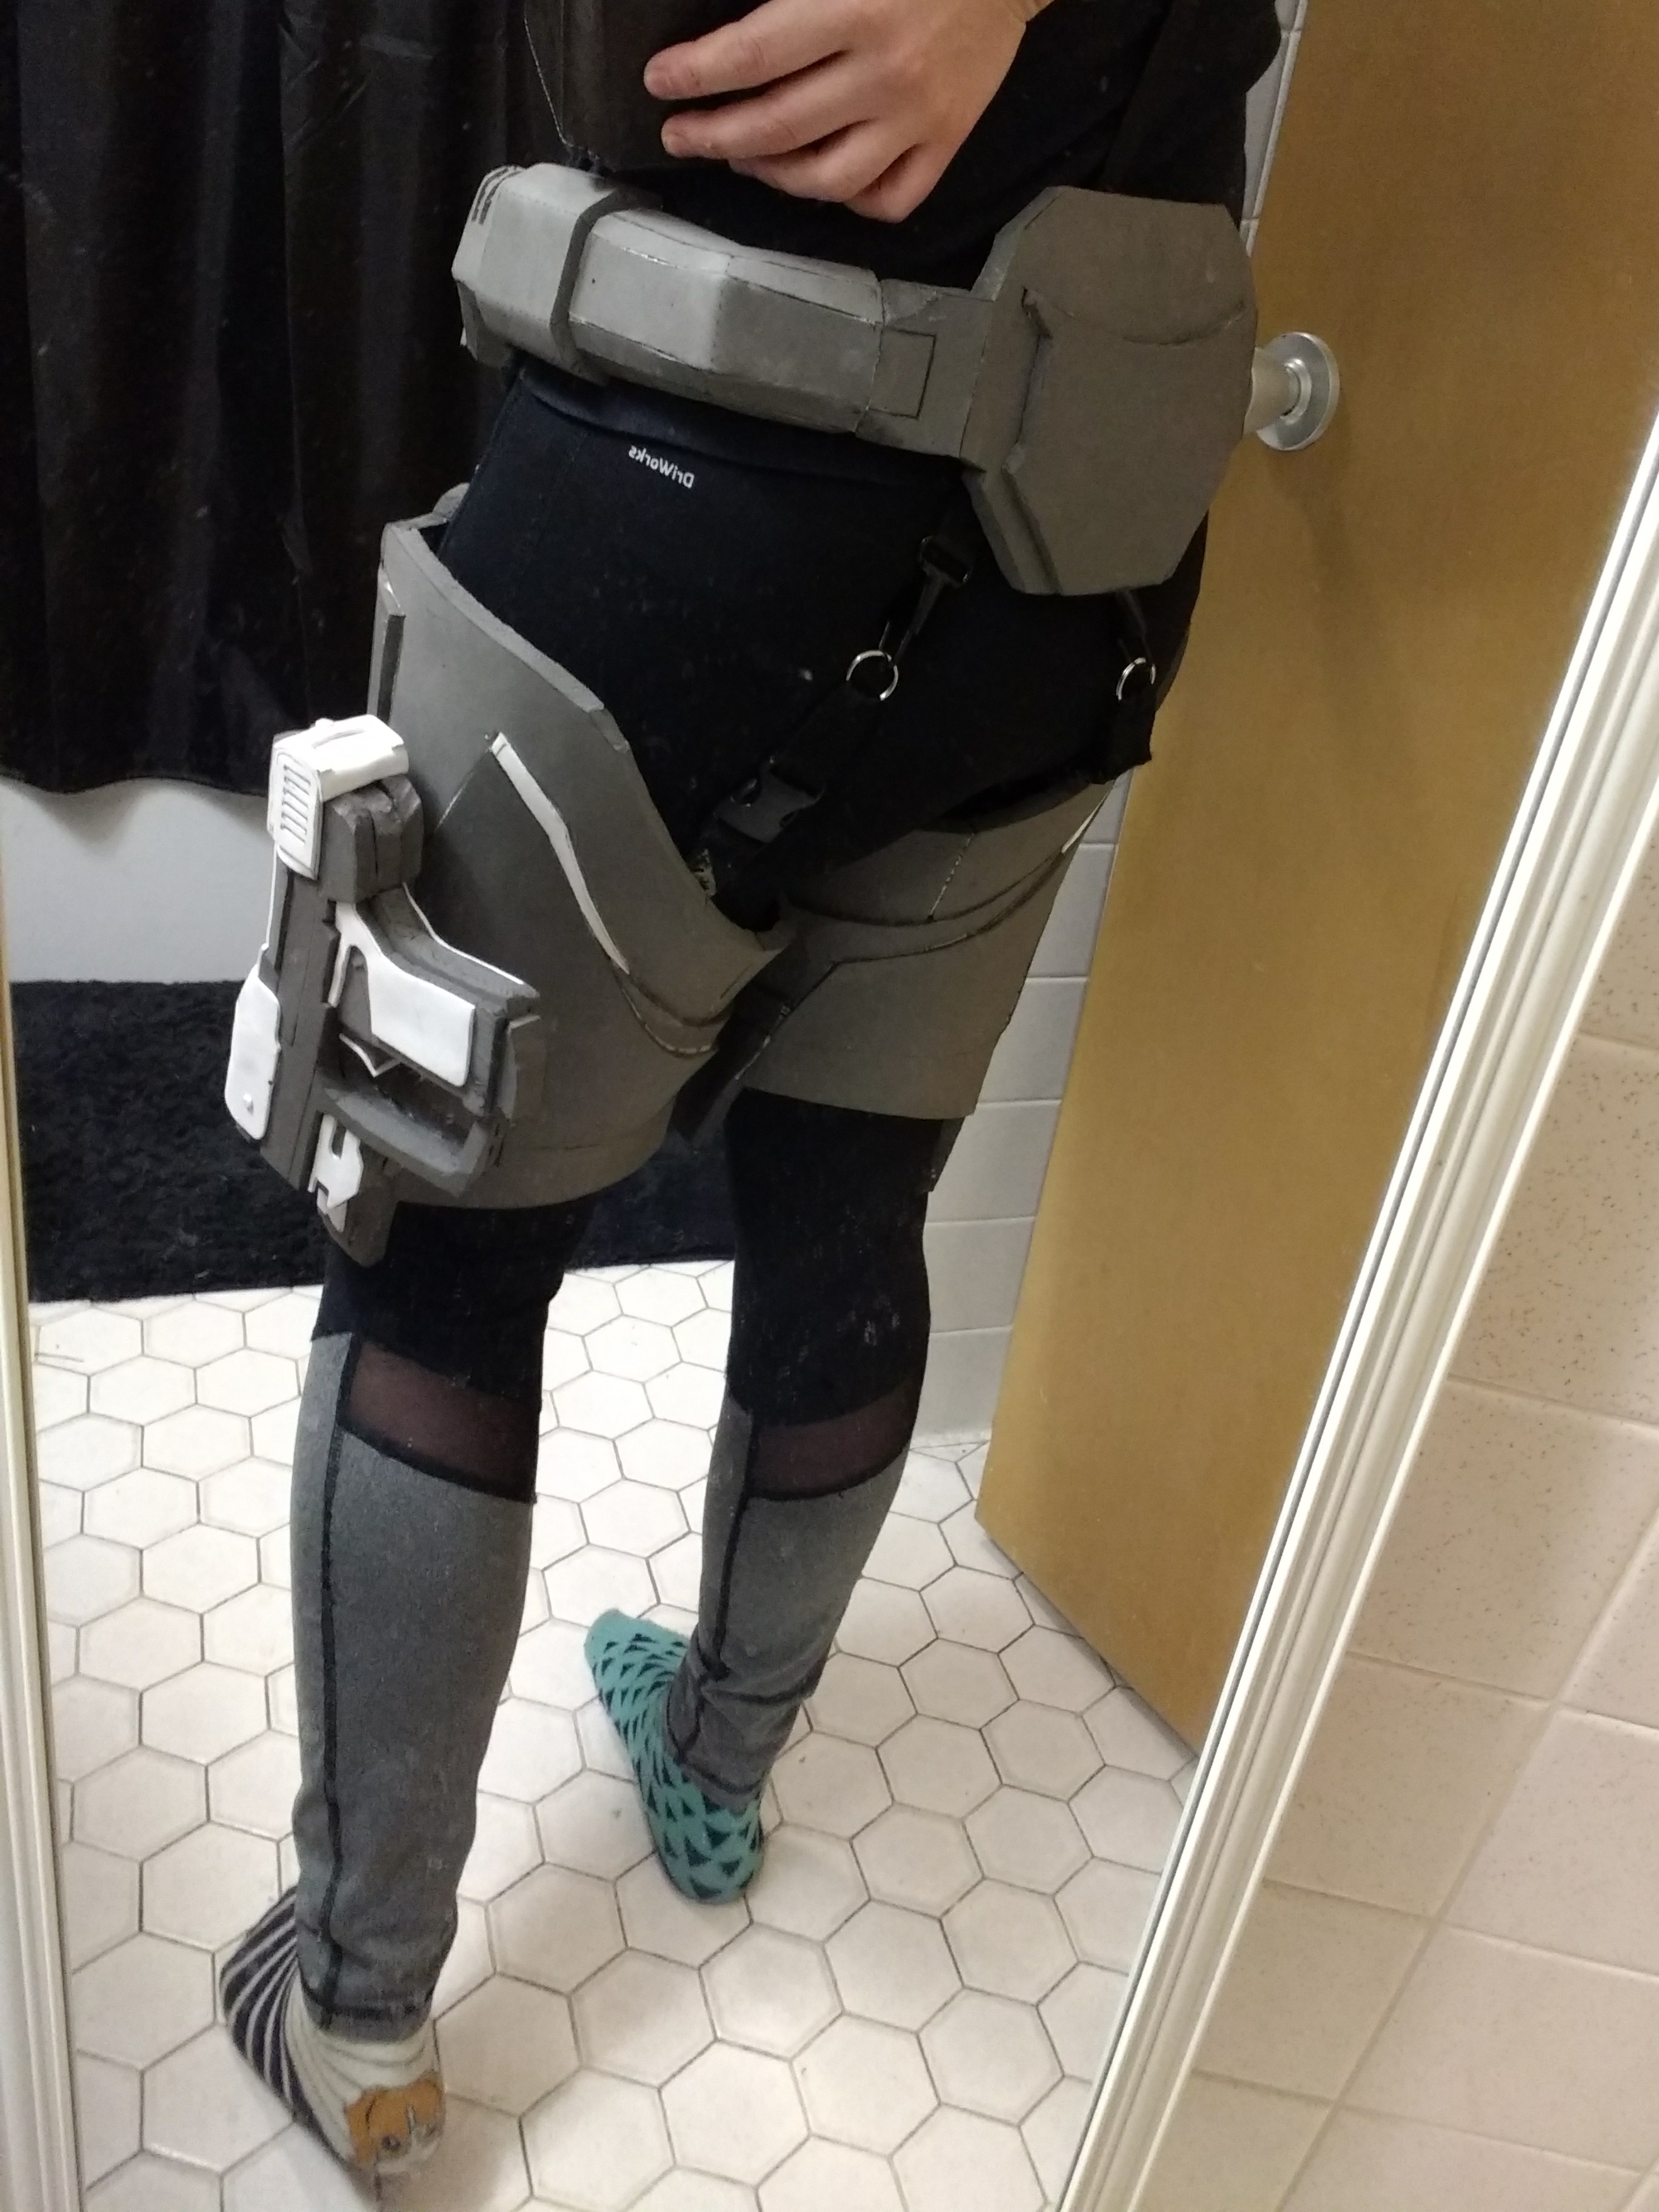
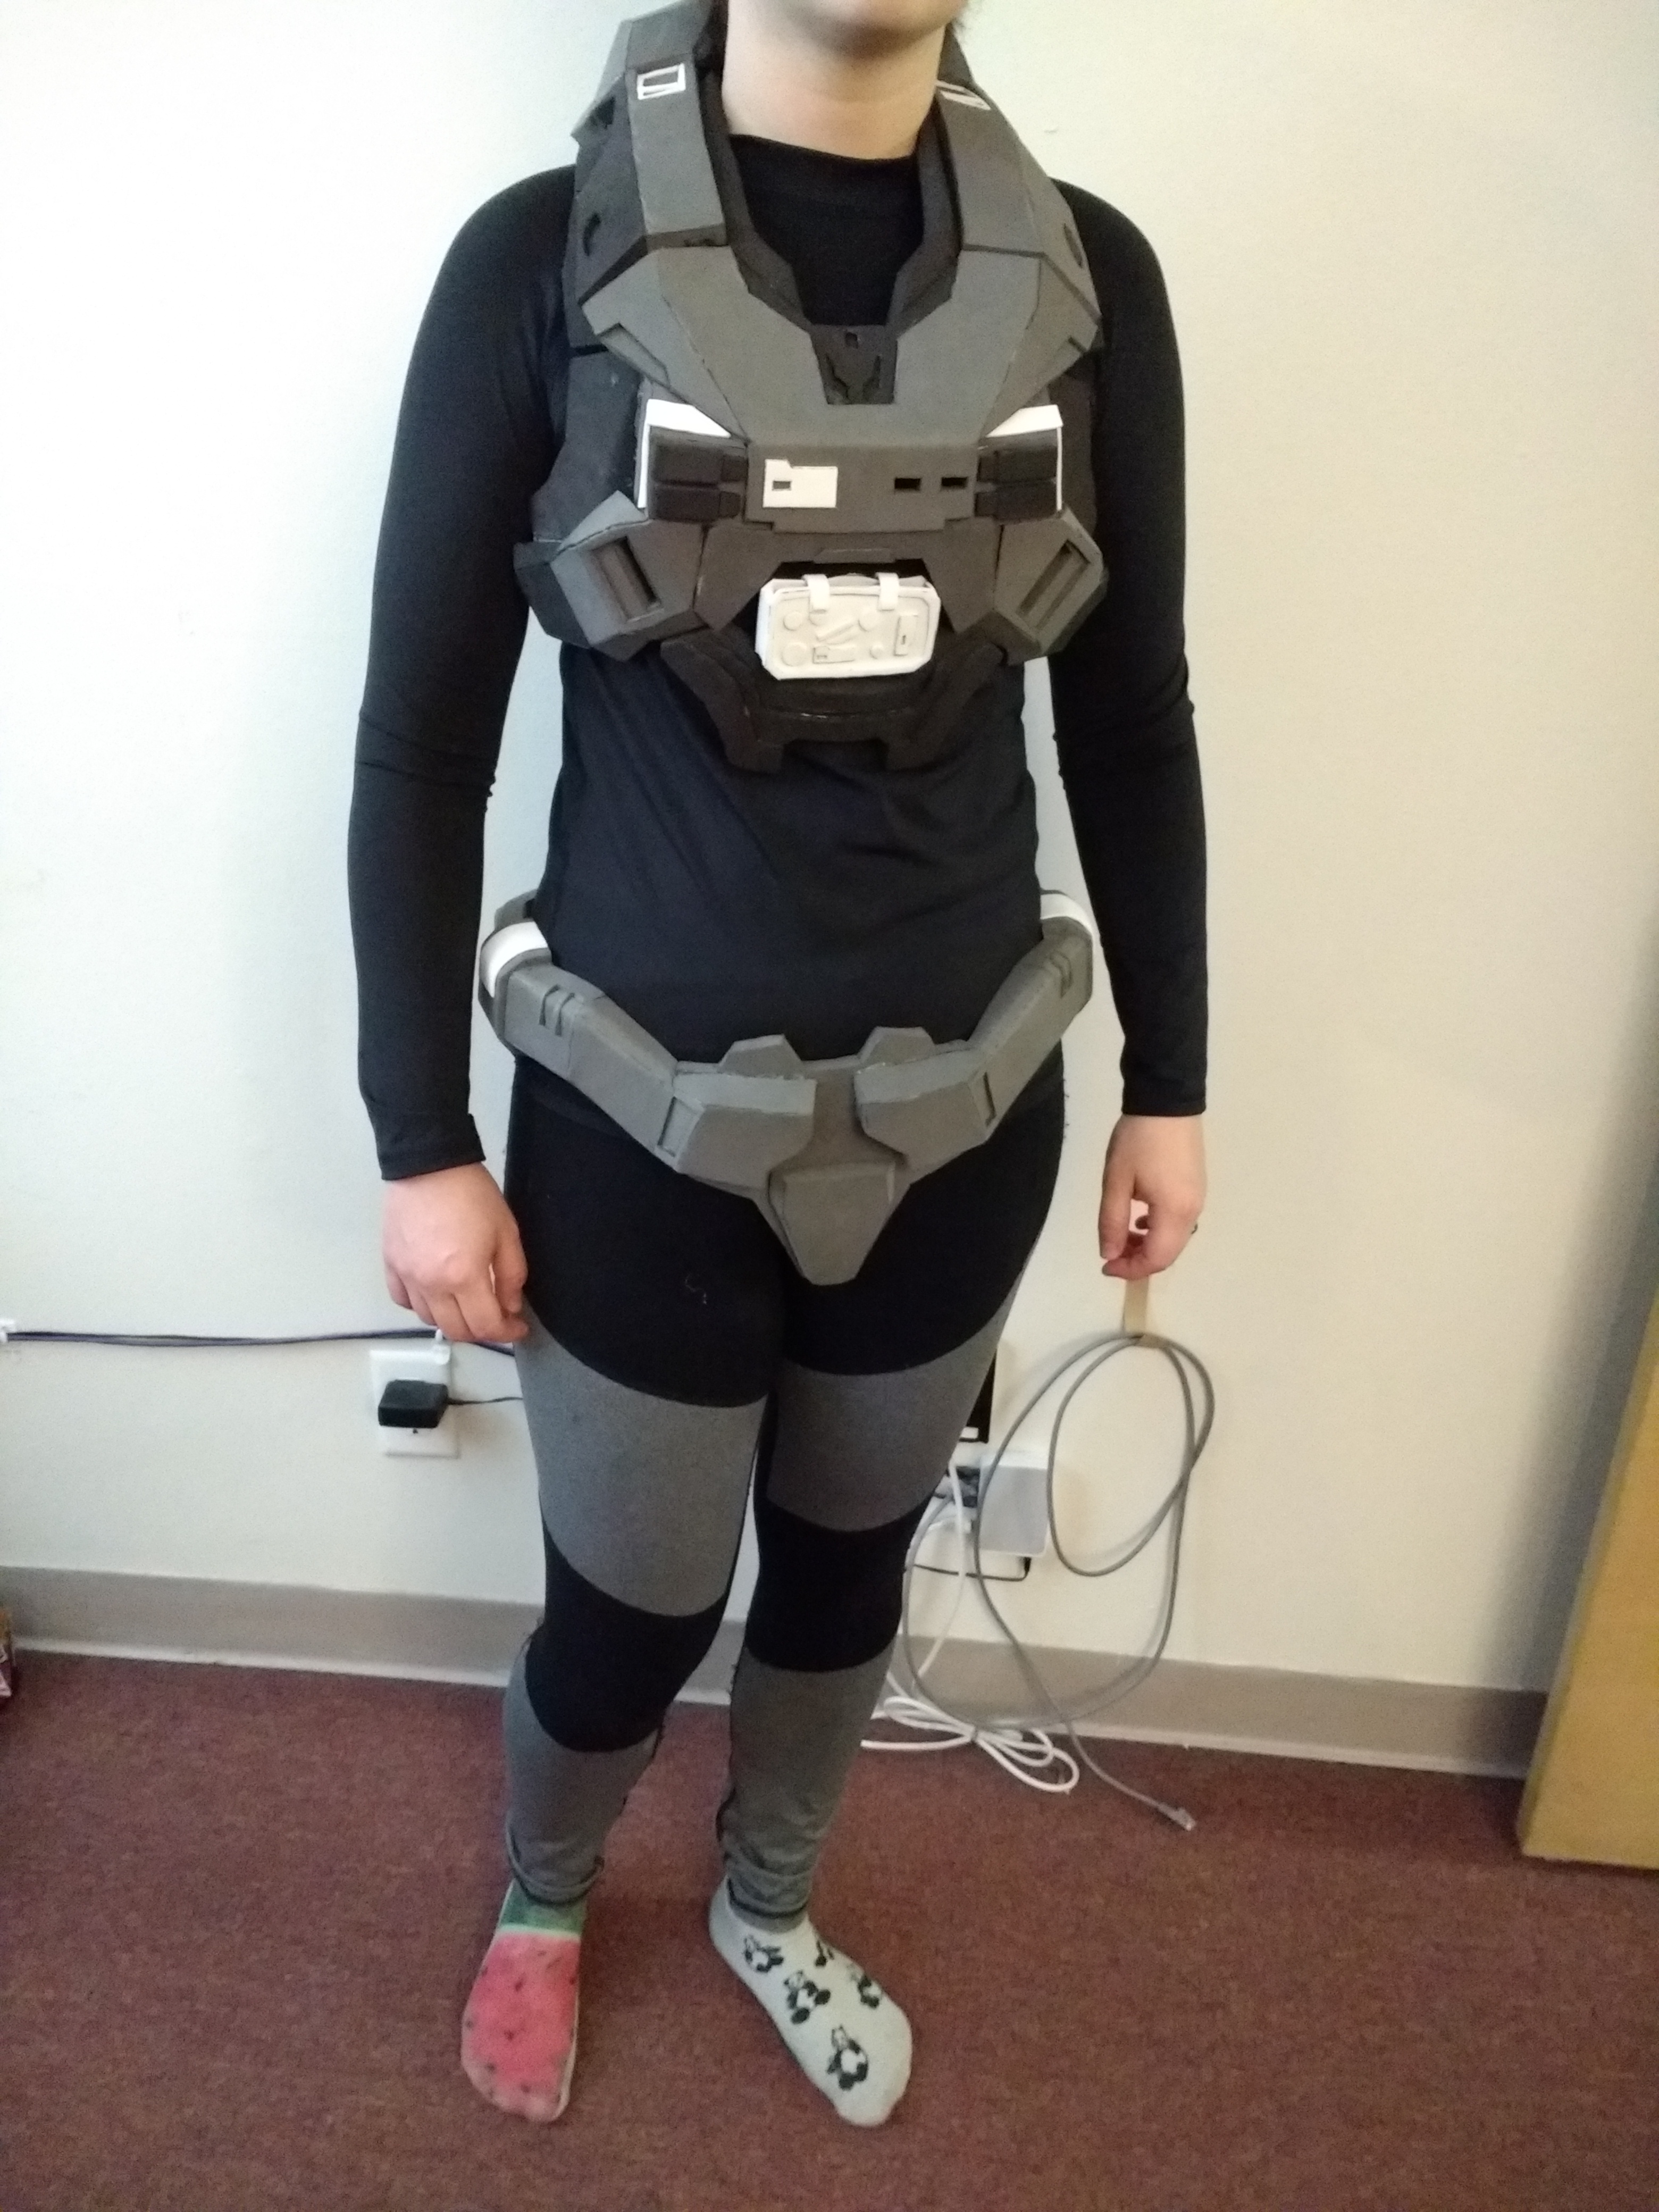
And here's everything I've made so far on me at the same time!
It's exciting to see it all come together. I think I'm going to try applying the Kwik Seal to a forearm, sealing it with Plastidip, and painting the base coat, which will hopefully inspire me enough to take on the three important (and remaining) pieces: cod, chest and helmet.
One more thing: due to being completely insane, I've decided to try and move up my timetable by one week. October 20 is the Saturday of Dallas Fan Days, and some of our friends are going, so... of course I have to go. However, I don't want to rush the suit, so if it doesn't get to be wearable by then, that's fine.
I believe the proper terminology is 'space diaper'
Looks great.
Good luck on the chest and... Dun dun dun... the helmet!
Wow paint looks just like your ummm I guess "prototype" render, well the cool picture that I don't know how to do.View attachment 259849
That's how I've been feeling this whole build.
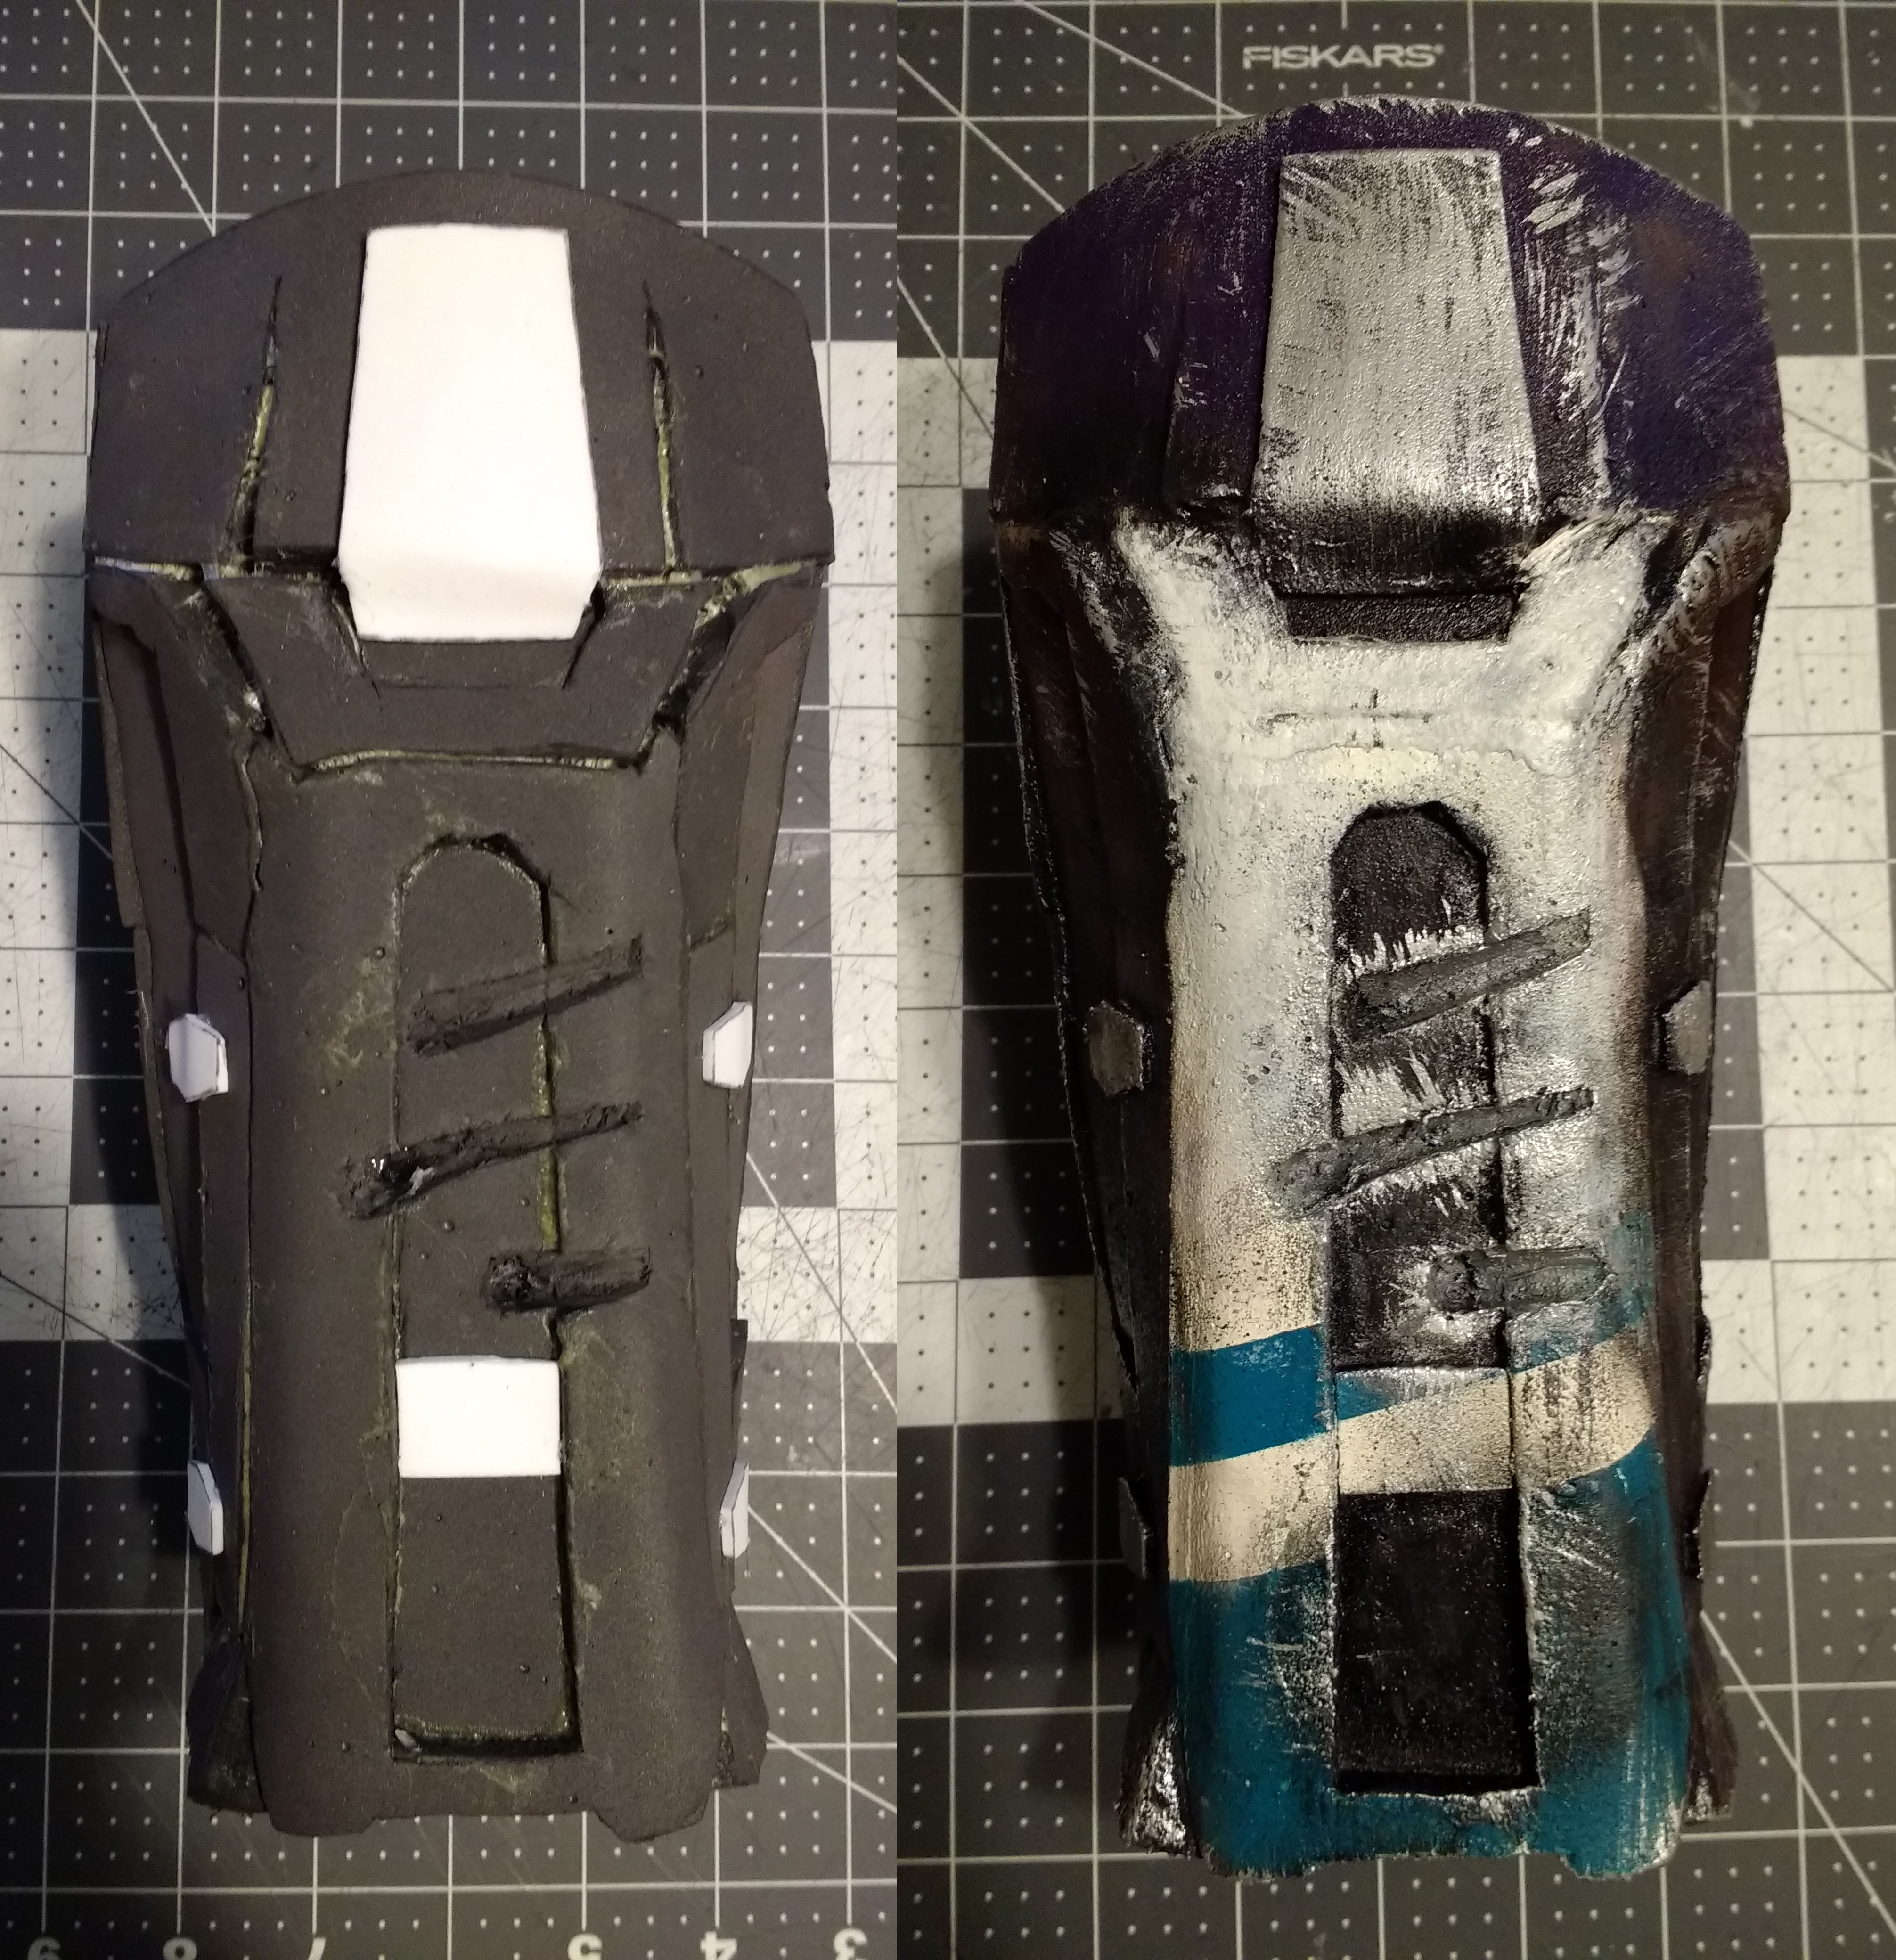
But good news! I'm feeling more accomplished now that I've completely finished the forearm!
I decided to just go for it. I went a little heavy on the weathering, and I'm hoping I'll get the hang of it for the other pieces, otherwise I'm going to be an exceptionally seasoned Spartan.
Here's the forearm before and after all the filling, sealing and painting:
I've also started working on the codpiece. So far so good. Hoping to get it finished by the end of this weekend.
Wow paint looks just like your ummm I guess "prototype" render, well the cool picture that I don't know how to do.
My chest piece is giving me grey hairs, but looking at what you've done so far you should be fine! Looks good! And I like the suspenders idea, I might steal that...
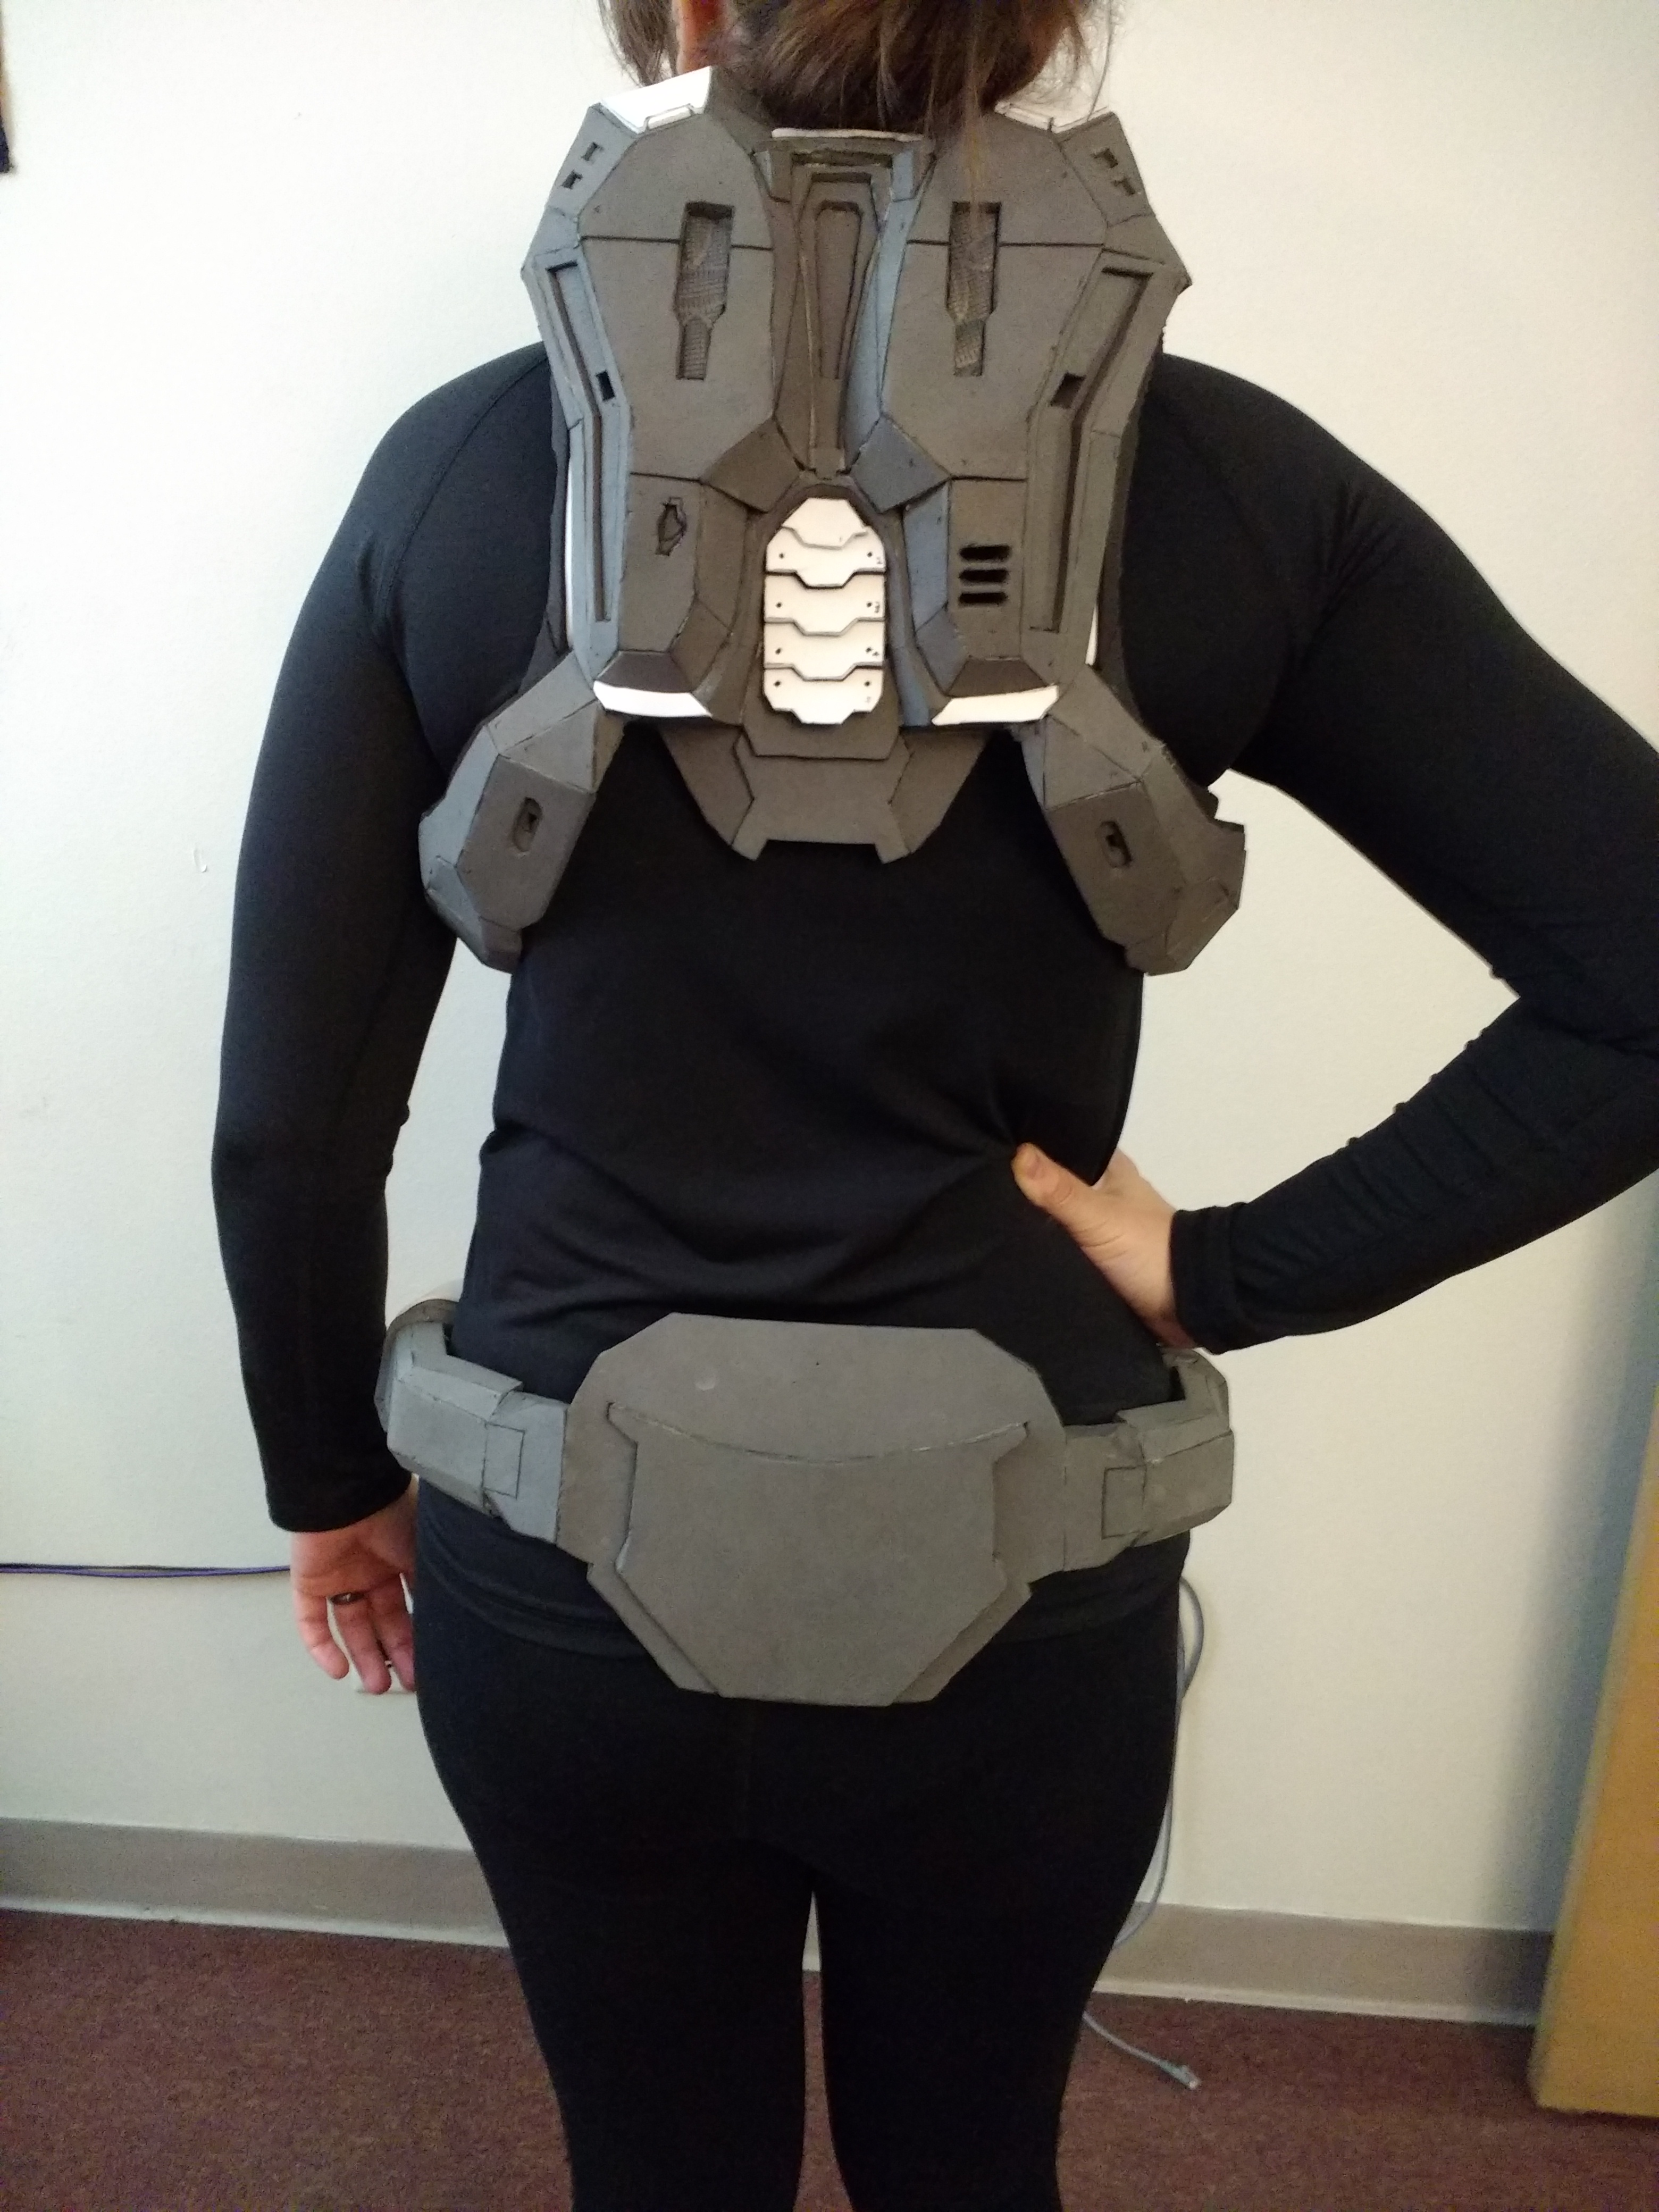
The chest looks great. I agree that it does look small, especially from behind. It also looks like it is sitting a little high.
Could this be a result of being the female chest rig? I haven't really compared the two versions so, I could be wrong.
It's definitely smaller on the female character model so I think you're good. Once you have the biceps/shoulders on it'll bulk you up and you'll start feeling more like a walking refrigerator. The more narrow chest piece will also help with arm range of motion so it's a blessing rather than a concern in my opinion.
Looking good trooper!