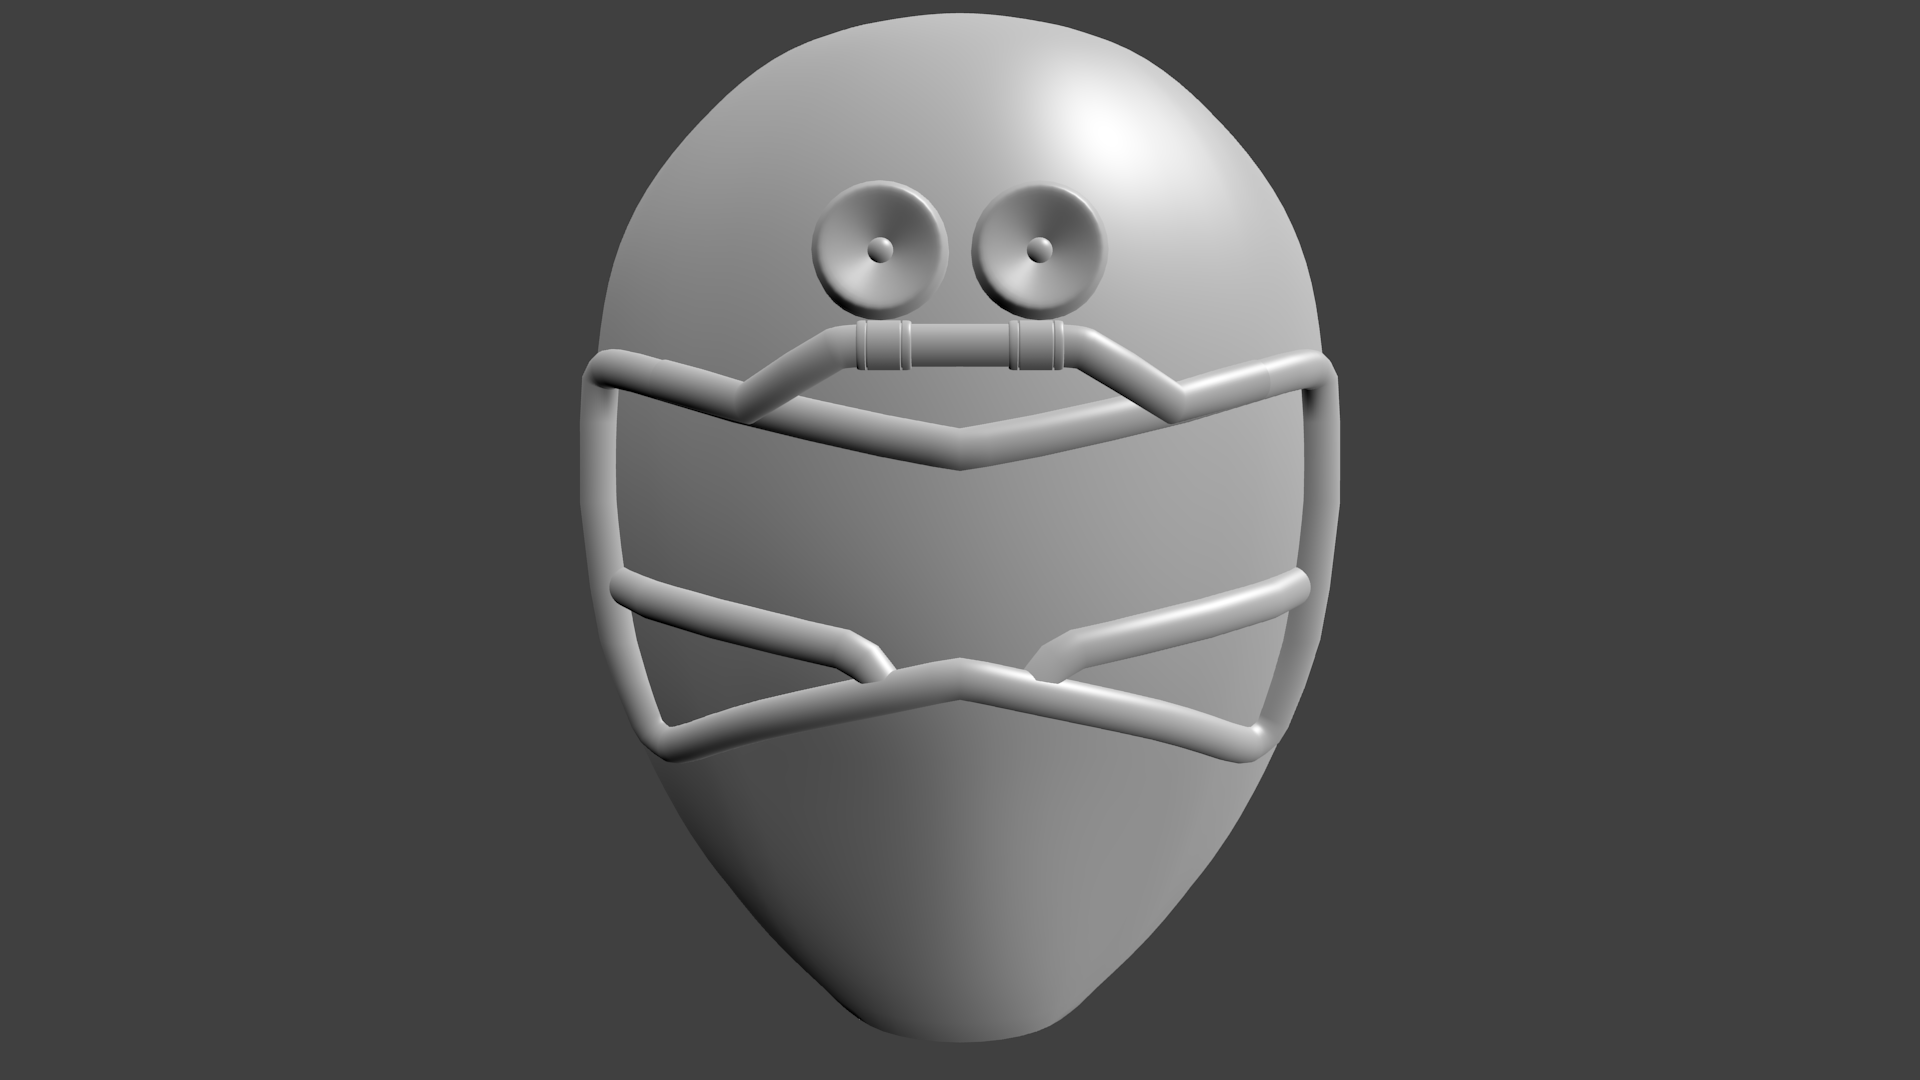
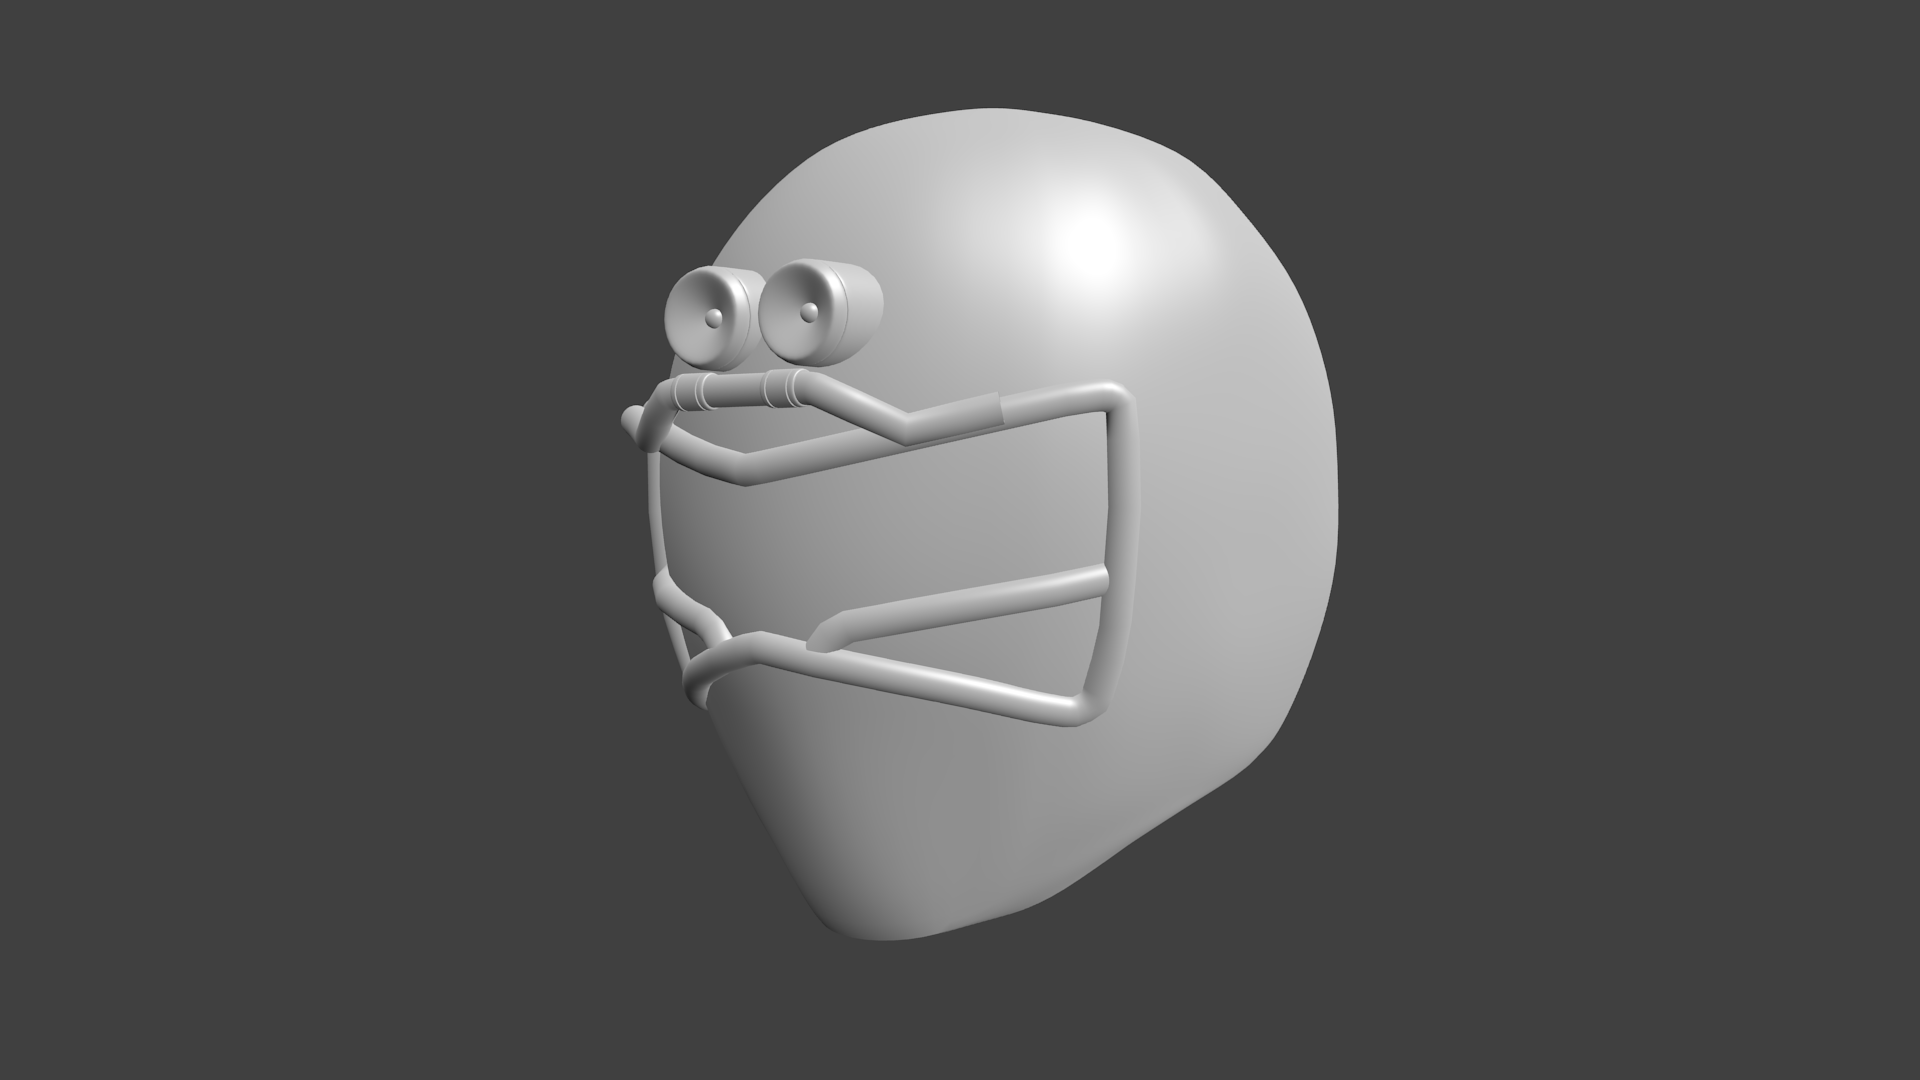
All right. Another entry and more info about the 3d printing process coming your way! It's a long post and requires some math skills. Be prepared.
The process of 3d Print will be long and difficult as you bring something from digital space to the real word as a tangible object. A lot of factors to take into consideration when it comes to 3d printing and I have endured a lot in the process. So before I get into the actual details there are a few things you need to know.
1: Make sure that the printer is leveled and is free of anything that could interfere with the process.
2: The printer must be on a stable surface.
3: All 3d Printers are environmentally sensitive. If you have the printer in a warm area or inside of a enclosure, it will be well suited for printing the objects you needed.
Now, back on January 18th, I stated that size of the helmet would be:
184 milimeters across
244 milimeters deep
245 milimetes high.
Well, turns out it was wrong. If you scale it to these dimensions, sure it would encase your head, but to those who are claustrophobic, that might set that feeling off. So here's the info I found along the way.
First, take a look at this image.
This image shows a very accurate chart for people to use to get the right sizing for snowmobiles. Now, this chart can also be used to size the helmet.
How am I going to get the size of the helmet correctly? Think about it like this. In order for you get size correctly, you are going to need to get the circumference of your head. To do so, you are going to need to get a tape measure and with it you are going to encircle the tape across the nose.
The reason why is because the nose is the most extended part of your face. If you try and get it across the forehead, you are not going to get an accurate size. Once you get the measurement, you must now try and get the diameter of the head. To get that measurement, you need to take down how many inches you around and divide by Pi.
For example, my head is 24 inches around the nose overall. So I use this to get my diameter.
24 / 3.14 = 7.64
Since my head is over 7 and a half inches in diameter, I'm going to round up to 8 inches. Now, 8 inches is bigger than the distance from ear to ear, but you still have to take into consideration the padding that's going to be put into place later on. So it's going to be extended to at least 8.1 inches wide. That's 206 millimeters (mm) wide. Now for the vertical height. This will require at least a straight ruler. If you have a lot of hair on your head, it's going to be very difficult to get an accurate reading. For those with shorter hair or no hair at all, this will be easy. On a flat surface or with some very large calipers, take the size of your head from the bottom of your chin to the top of your head. On average, it's going to be at least 9 inches tall. To compensate for padding there, you will need at the most a quarter of an inch. For the sake of my head, it's going to be 251 mm since I plan on talking through the helmet later on.
Finally, there's the back of the head. I took a look around of some sizes going to be needed for it to fit from the tip of the nose to the back of the head. This time, with some pencil or paper, lay your head down on a flat surface and draw a line from the tip of your nose to the back of the head.
For my head it's 8 3/4 of an inch. Compensating for the back of the head and for it to breathe properly, it's going to be 252 mm long.
Now, that we have all the measurements plugged in, it's time to put it into your slicer of choice and size them up.
For the sake of the tutorial, I'm going to use Ultamaker Cura for this entry again. After you import the model into your area, there are a few things you need to know.
1. Never use the Universal Scaling option. If you put in 1 measurement on one of the axis, it's going to size up all of the other axis accordingly. We don't want that. Also uncheck snap scaling as well since it's a similar feature.
2. If you already have your printer placed into the program and it has a large bed, you can place the model into the area for slicing. If you don't see one available, you will have to create a profile based on it by going into the settings and add the printer specs in.
3. Finally, the settings on how to print the model out. You have some default settings that you can set up that goes from extra fine (.06mm) to extra course(.6mm) the finer the details, the less post processing(sanding) you have to deal with later on. You can change and create your own printer settings as well as import other compatible printing profiles to help you out if you don't want to tinker with it.
Now, that you have imported the file or files, plug in the measurements and make sure that the pieces are placed on the virtual bed like the image below.
As you can see with the image above I'm using the Crealty Ender 3 for now. I once had the Anet E10 which had a larger bed on the Y axis that could cut down on the printing time by printing halves and not quarters, but due to certain complications with the printer like parts not being secured or missing, I had to send it back like Garfield sends Normal to Abu Dabi...
... moving on!
If you are using a smaller bed like the one I have which is 220mm(W) x 220mm(D) x 250mm(H), you are going to have to print them in quarters and glue them together later on. So what I had to do was take each piece in half and move it through the bed. To explain it a bit further, say that I have an object that's 252mm high. With this number, you divide it by 2 which is 126 mm. With this number in hand, go to the Move function and type in -126. You can still change it in order to eyeball the "dividing line" of your helmet. But before you do, you are going to need to duplicate the part in question. So in Cura, you need to choose the object you are going to print and press CTRL + M. A menu will pop up and you can choose how much of that object you are going to need.
Since the objects I have are an exact duplicate, I just need 1 copy for each part. Then I flipped the parts upside down using the mirror function, lowered it through the bed again, and sliced it until I had 6 parts. Once sliced, Cura will tell you exactly how long it will take to print that part. But don't be fooled on the time being displayed. Sometimes it will be longer and sometimes it would be shorter. To give you an idea when it would be done, here's a link:
Hours from now calculator helps you to calculate the time hours and minutes later from now. What time will it be in hours later from now.

www.timecalculator.net
With this link, after you plug in the hours and minutes, you will get an idea when the print will be done. Now that you know the time it takes to print the pieces, export them out to your MicroSD card, save them under the G code format (.gcode) assign them different folders so you won't get confused.
But before you do, make sure to take a look at your print in the Layer Mode. Once there, look for any physical holes in the structure like this:
If you see any holes in the model, you need to go back to to your modeling program and fix them if your slicer program does not have a repair function. Cura doesn't have one so you will have to try and fix it by moving vertices and faces so they don't show up anymore. Make sure that you don't see through your print to the other side. When you get to the point where you can't fix it, no matter how much movement you make, you can fill it in with spot puddy.
Before I end this post, I will leave behind 2 more links to help you out with the calculations on the measurements.
Inch Fraction Calculator - Find Inch Fractions From Decimal and Metric Measurements - Inch Calculator and
Circumference Of A Circle Calculator And Formula To Find It – Pi Day
They are free to use when ever you need any conversions.
Have patience and everything will turn out fine. Once I have my prints fully created, I will show you the post processing tips needed before you get to the final stage, painting!


